Initialize the Connection
Once the configuration is complete you need to initialize the connector. To initialize the connector, you need to click on the [Initialization]. Click on the Commerce Connection and click on [Initialization] under Configuration.
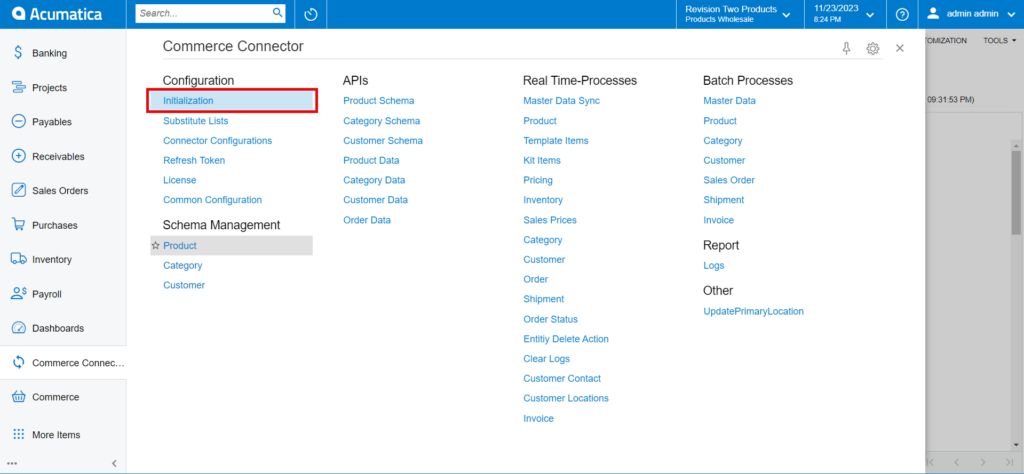
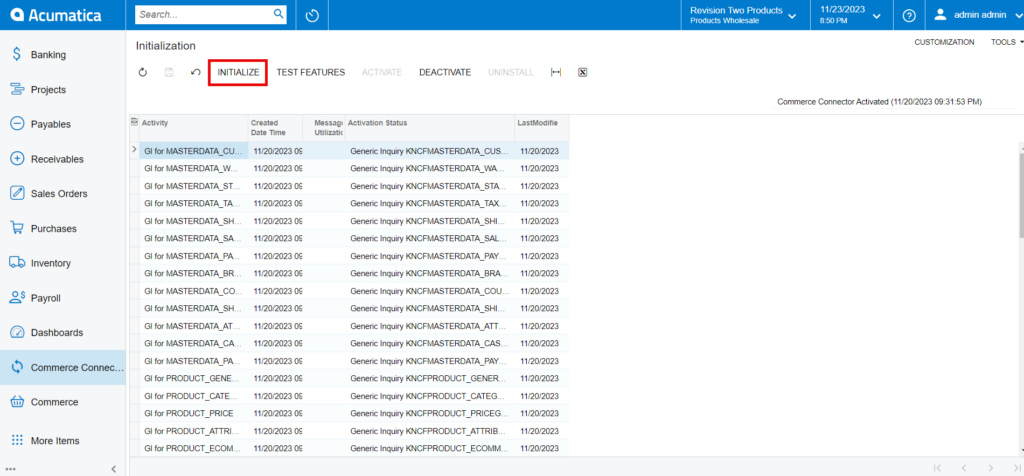
Upon clicking the initialization button, you will be redirected to the following screen.
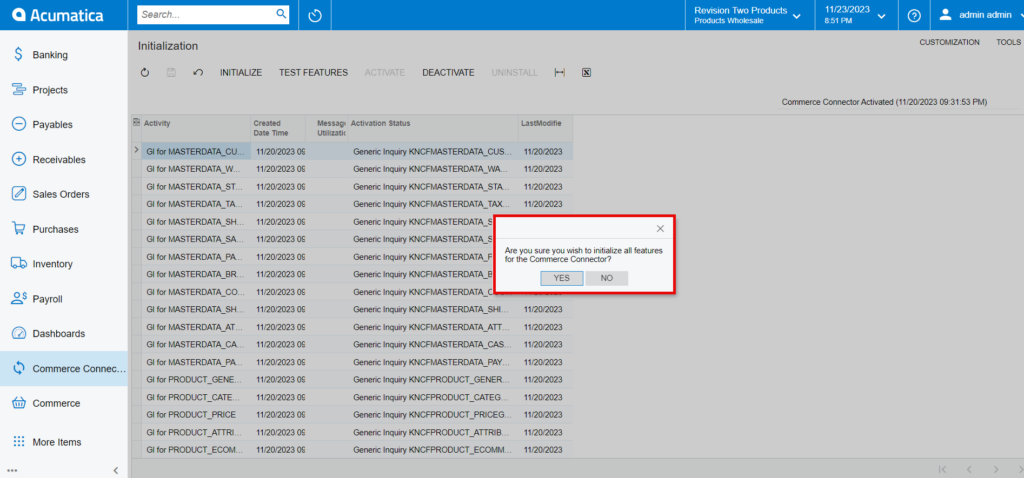
Upon clicking on [Yes] the initialization process will start. This will activate and initialize the scheduler for the same.
You will also have the option to [Deactivate], [Activate], [Uninstall], [Test Features].
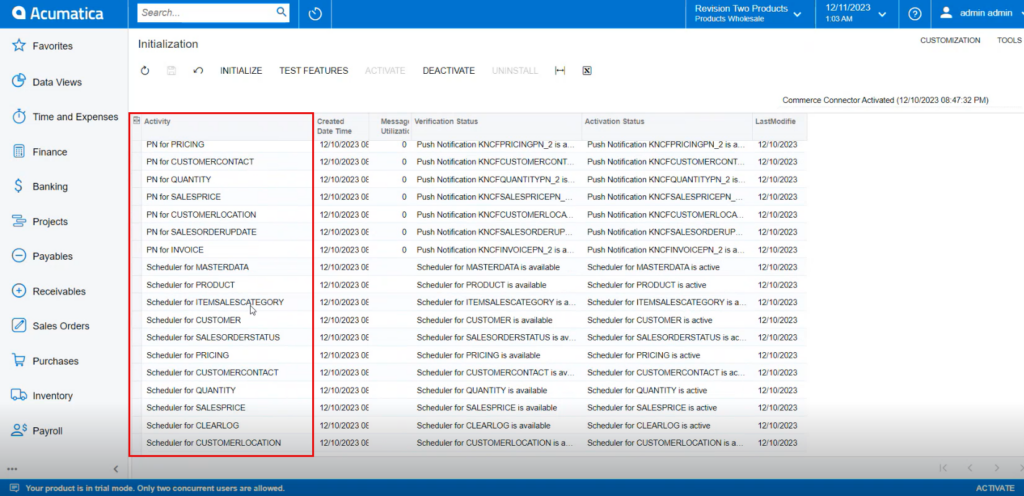
During the process of Initialization, the GI [General Information] is created which needs to be added. If you perform any of the actions you will be able to view the action description along with the date and time stamp. The information is based on your last activity. For example, if you disable it will change and show the time and action type.
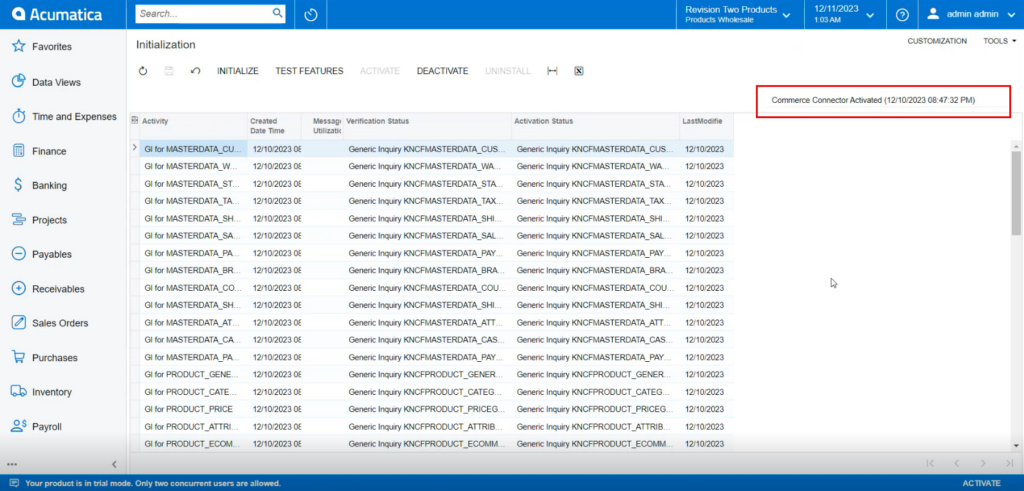
The General Information [GI] will be created after the initialization process and it will be displayed under the [Activity] column.
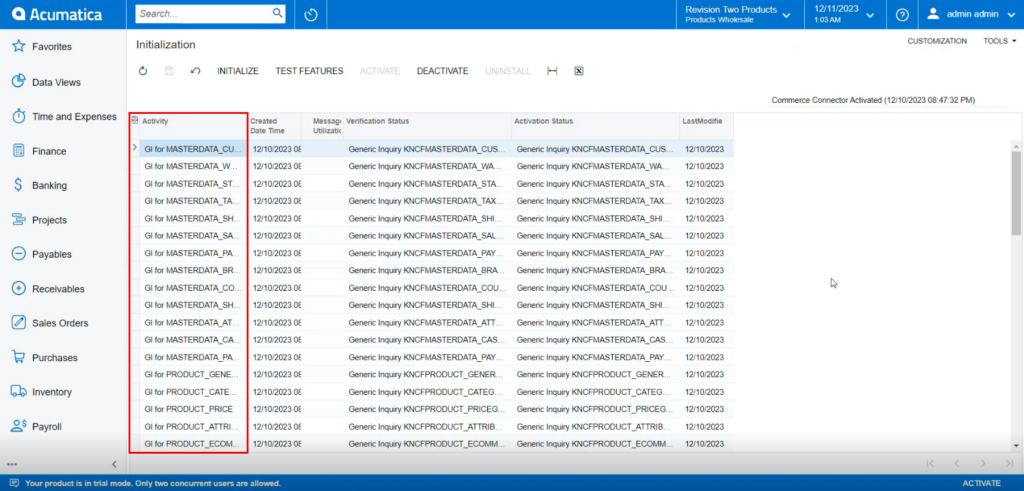
When the application is initializing it is creating KNCFMASTERDATA_Customer in verification status.
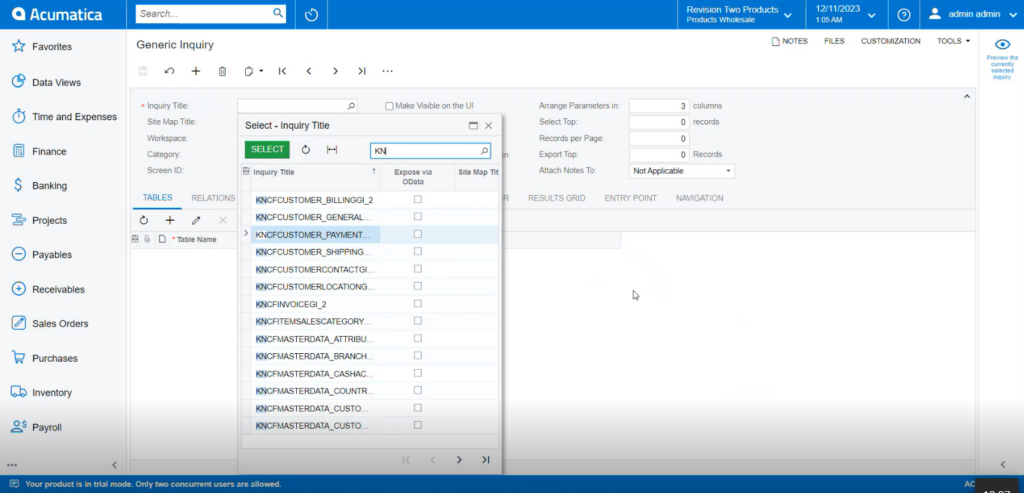
All the general enquiries are created when we are creating the Initialization.
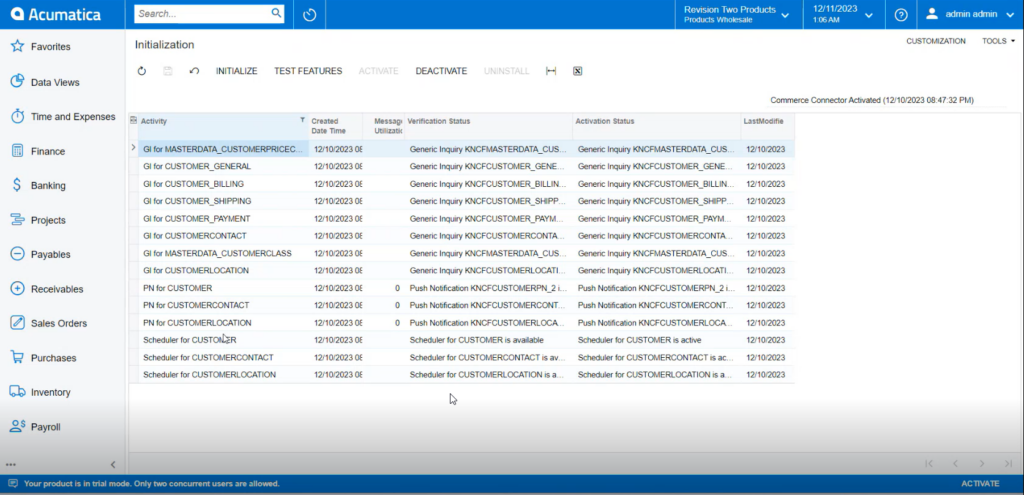
Push Notification:
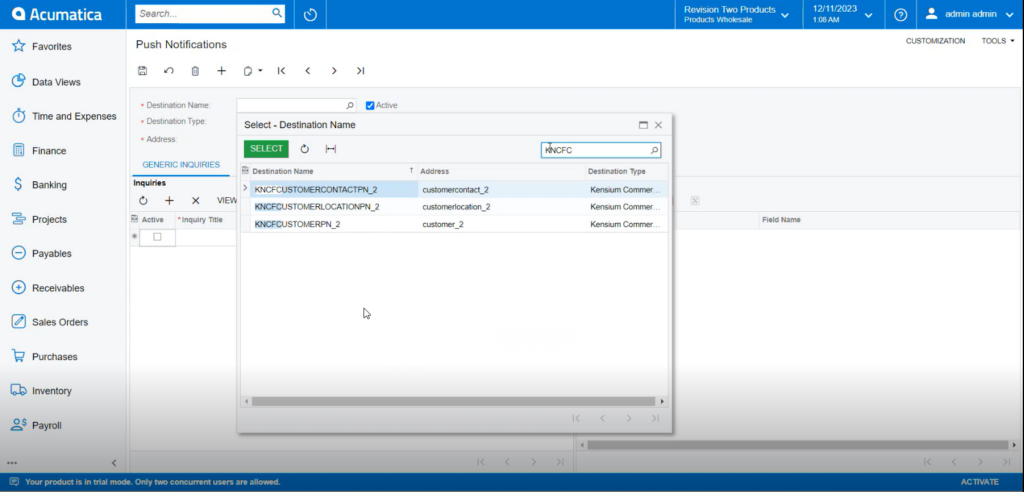
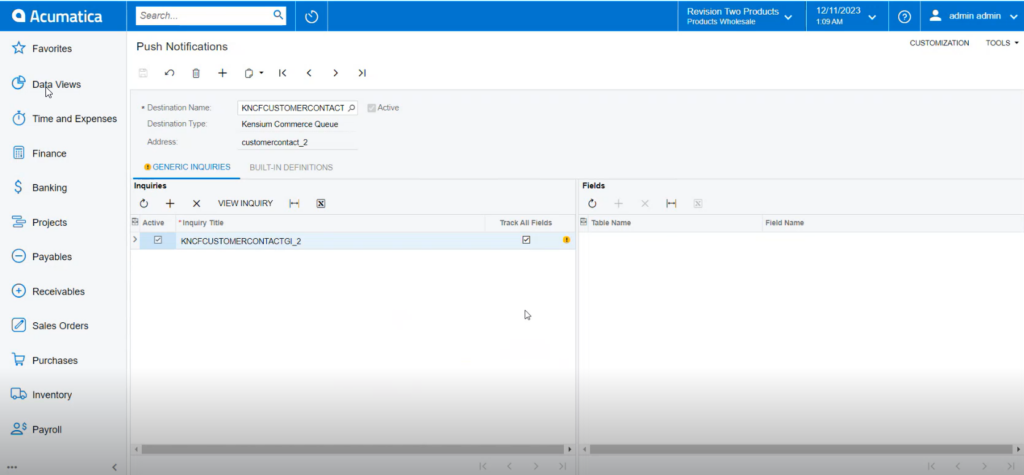
In the Global search enter [Push Notification]. Under Preferences, you will be able to view an option for [Push Notification].
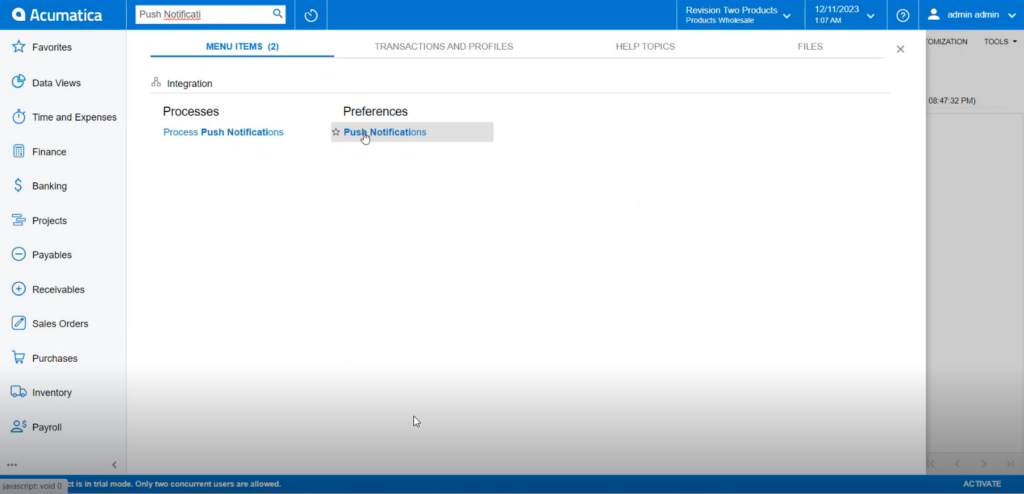
You will be redirected to the following screen for Push Notification. Since it’s being created by Kensium that’s why it starts with KN.
Schedulers:
In the Global Search enter Auto Schedulers you will be redirected to the following screen. Click on Automation Schedule Status under System Health Monitoring.
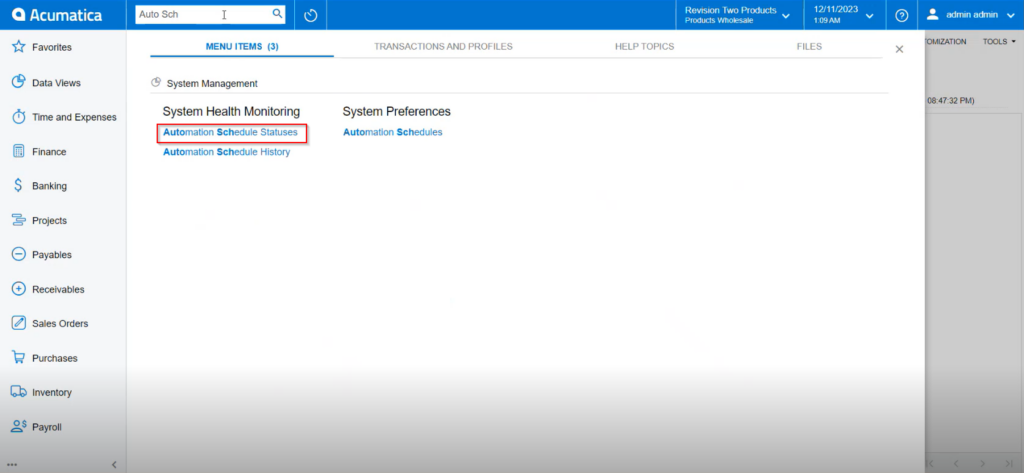
Filter the Screen ID with KN.CF is shown in the following figure.
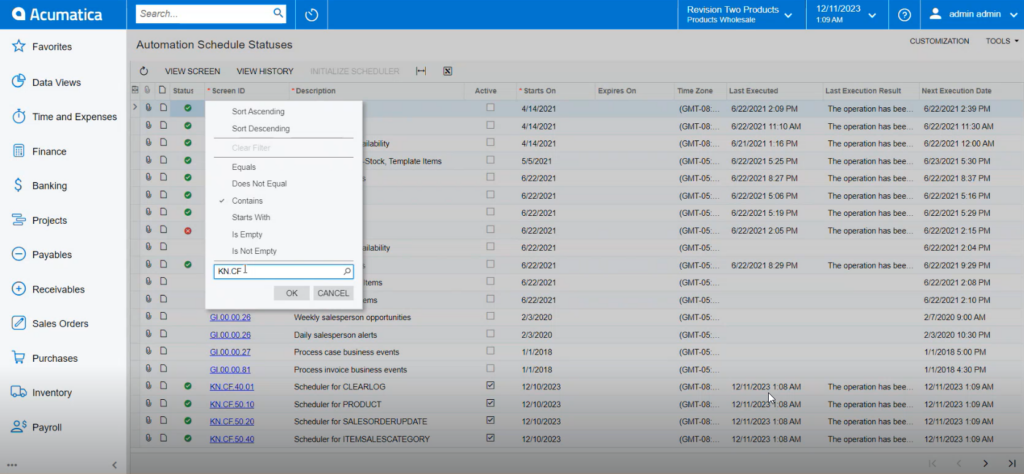
During the Initialization process the Activate column. These will be created at the time of Initialization. During Initialization this will only be created but you have to activate it separately by checking the box.
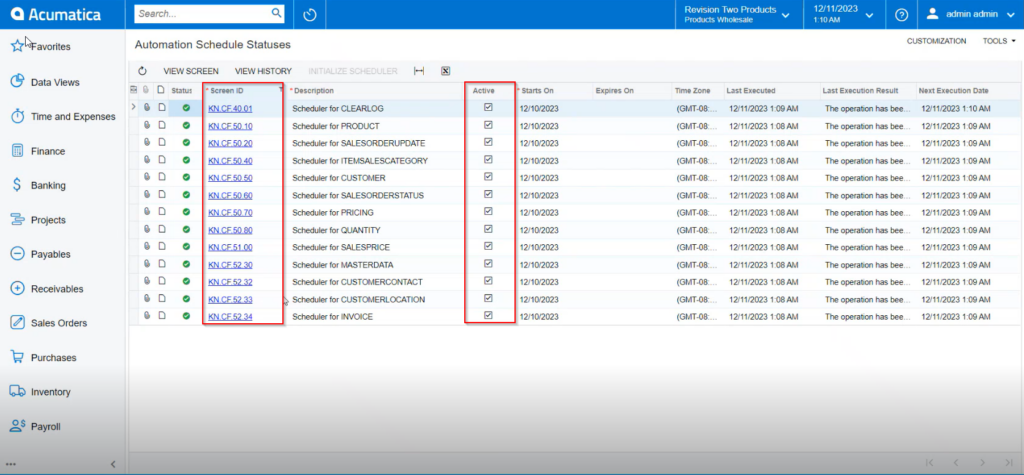
When you perform the [uninstall] action, this activated column is going to be deleted because you are cleaning the system and uninstalling the connector. So,
upon uninstalling all the GI, Push Notification and Activated schedulers are going to delete.