Syncing Free Stock Items in Stock Items
You need to navigate to the left side panel of [Acumatica] and click on [Inventory] and then click on [Stock Items] under [Profiles].
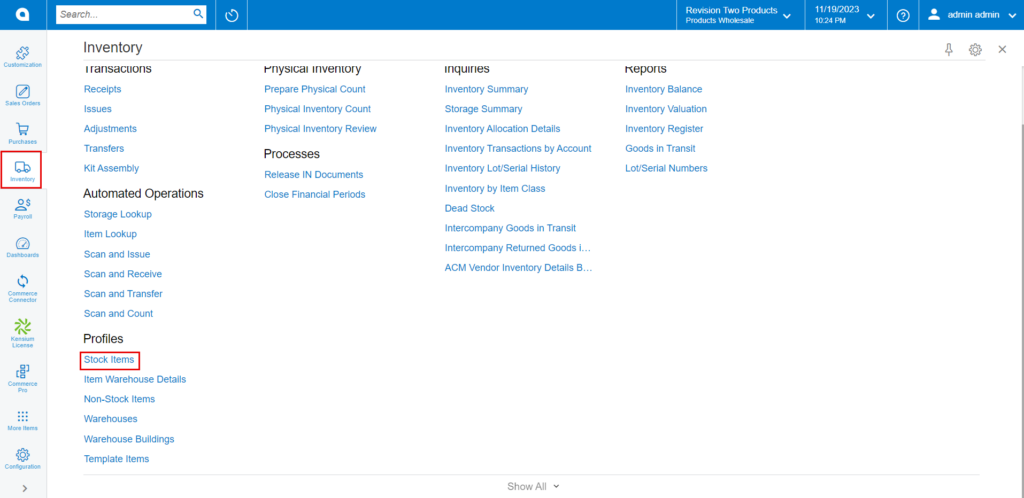
- Upon clicking you will be redirected to the Stock Items screen.
- Click on [+] icon.
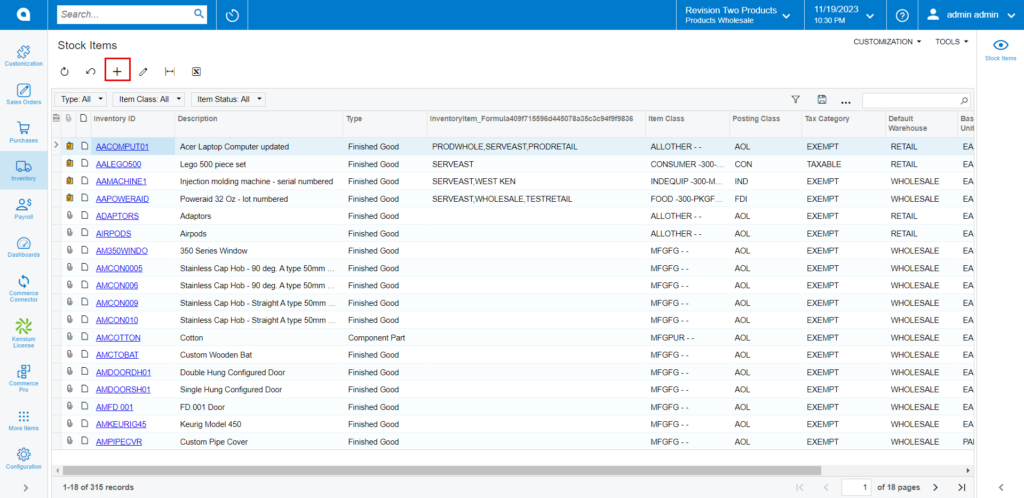
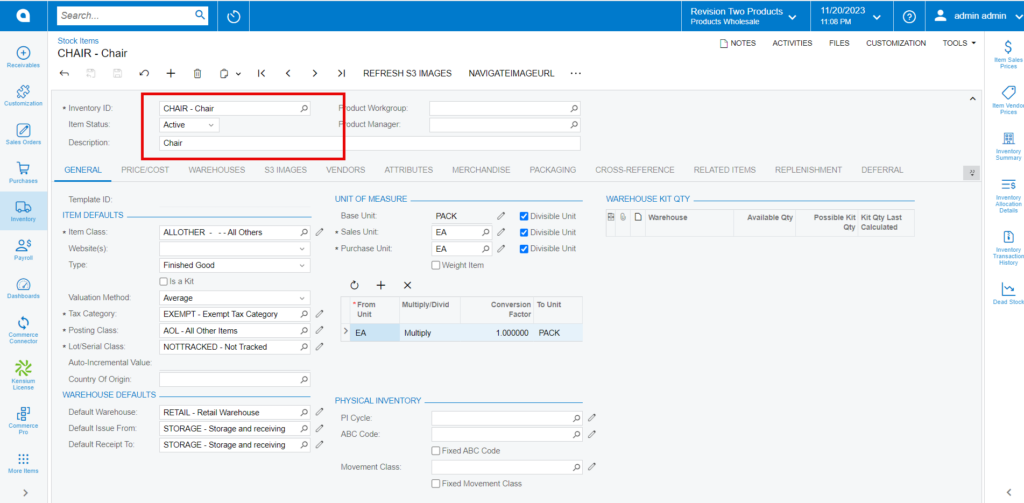
- You need to create a new [Inventory ID].
- Select the [Item status] from the drop-down.
- You can add the [Description] about the created item.
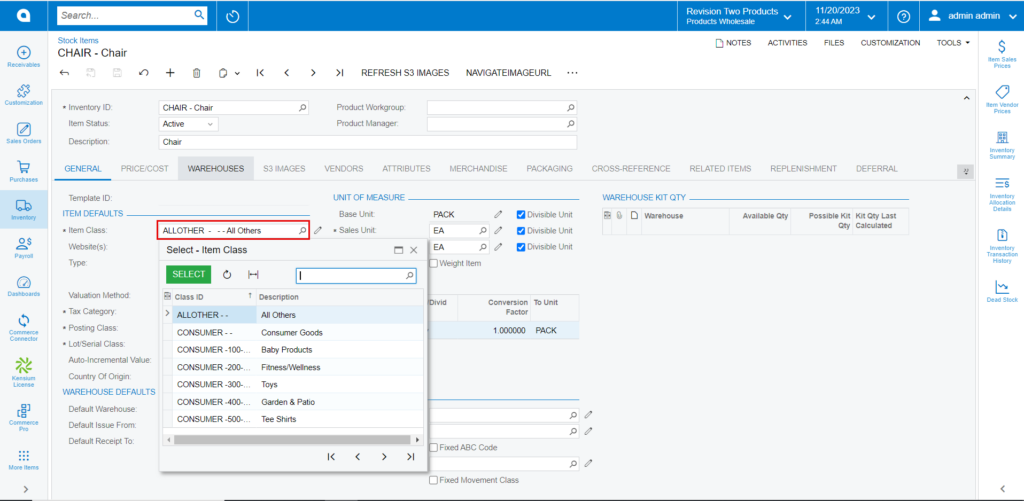
GENERAL
- You need to search for [Item class] from the existing options.
PRICE/COST
- You must enter the price in [Default Price] field.
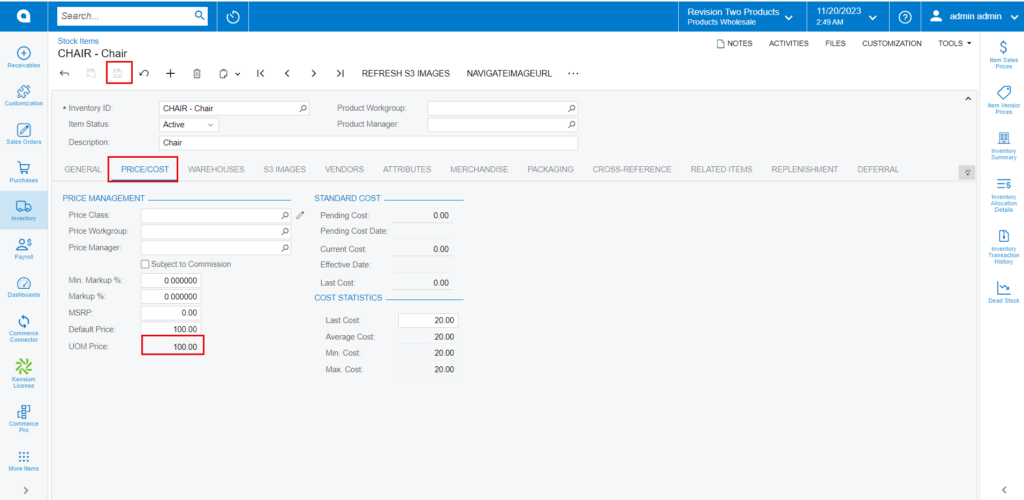
- Click on [Save].
Adding Quantity to the Stock Items
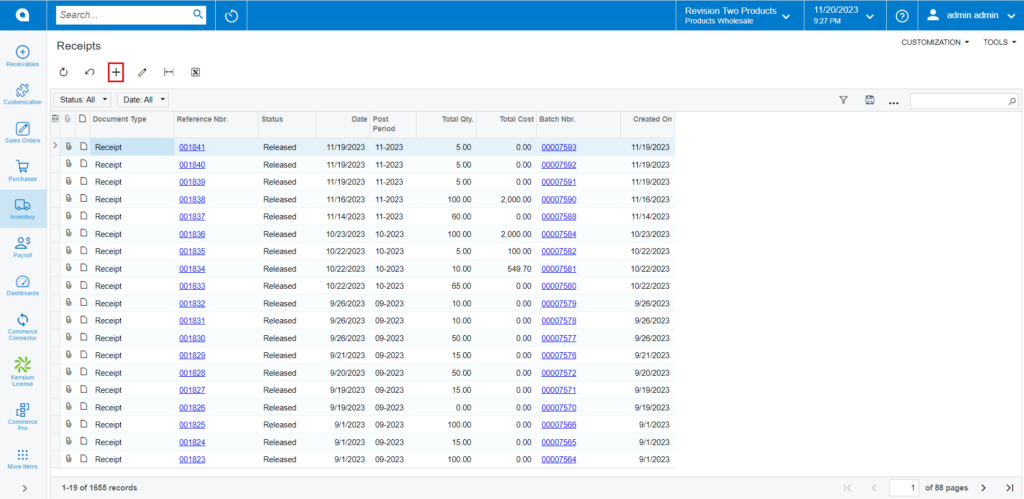
- You must navigate to the left side of Acumatica and click on [Inventory] and then click on [Receipts] under [Transactions].
- Click on [+] icon, then you will be redirected to Receipts screen.
- Click on [+] icon under [Details] and search for the created [Inventory ID].
- Enter the [Quantity].
- Click on [Save].
- Click on [Remove Hold].
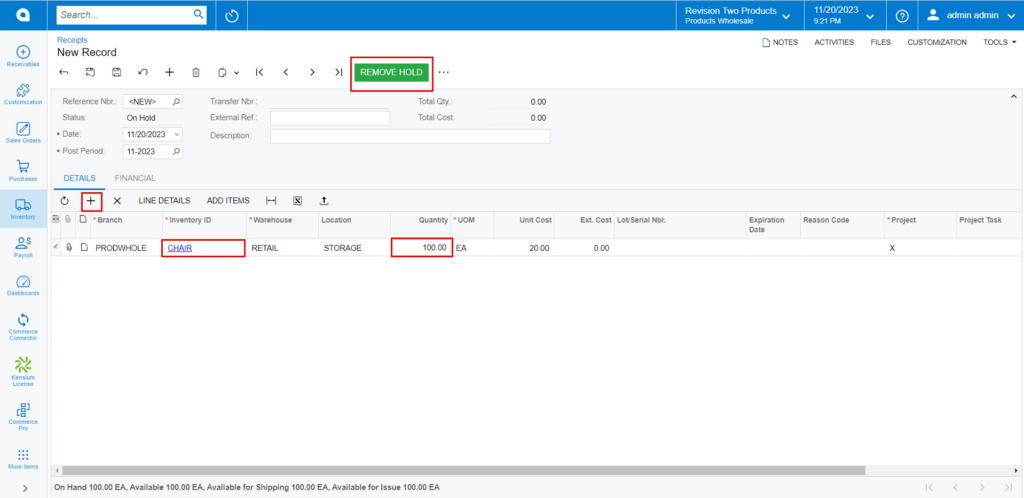
- Upon on clicking [Remove Hold] the [Reference Nbr.] will appear and [The Operation Completed] message will pop-up on the screen.

- Upon adding the Quantity to the stock items, you must navigate back to stock items screen and click on [Related Items] tab to add the free item.
RELATED ITEMS
The Free items that you are supplying to the consumer with the parent item should be added under [FREE ITEMS].
- Click on [+] icon.
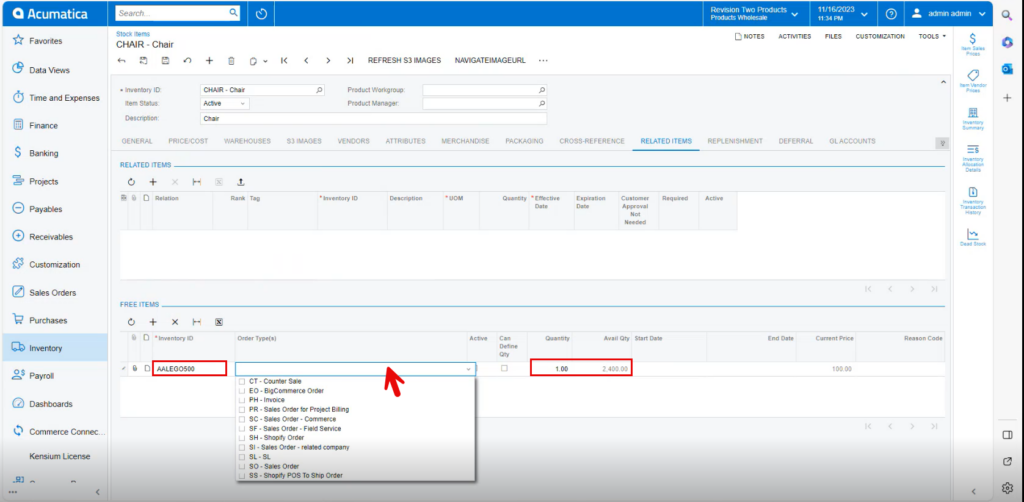
- Search for the [Inventory ID] from the existing stock items.
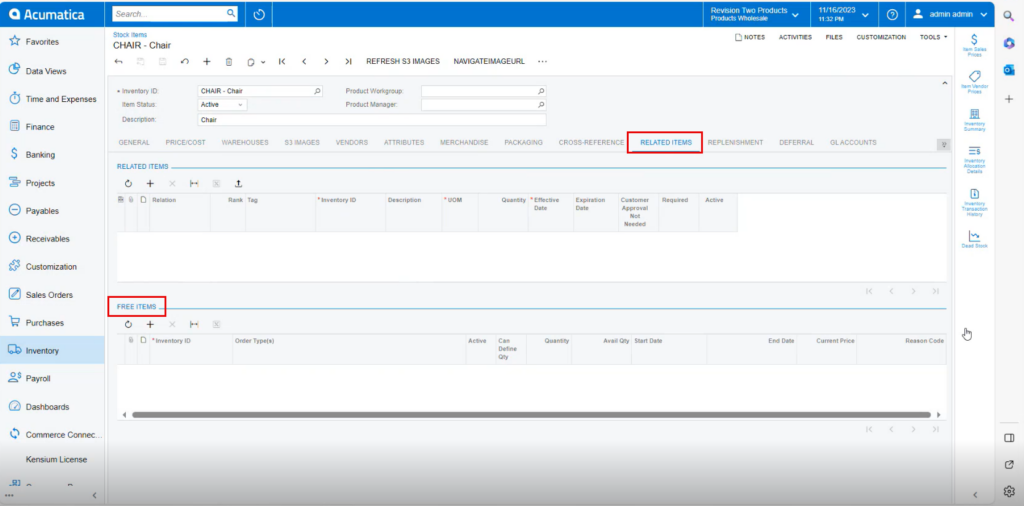
- Upon selecting the stock items, the [Avail Qty] will appear on the screen.
- Select the [Order Type] from the drop-down menu.
- You must enable the [Active] radio button, then only the select free item will display in the sales orders screen.
- Enter the [Quantity].
- Enable the Check box for [Can Define Qty].
- You must select the [Start] and [End] dates, for the offer to be valid.
- The price of the selected free item will be displayed in the [Current Price] column.
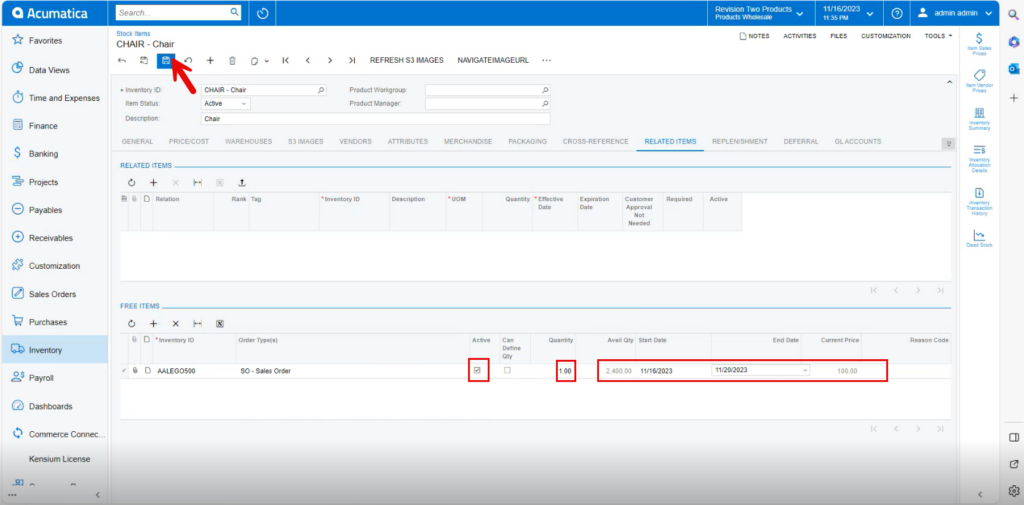
- Click on [Save].