Non-Stock Items
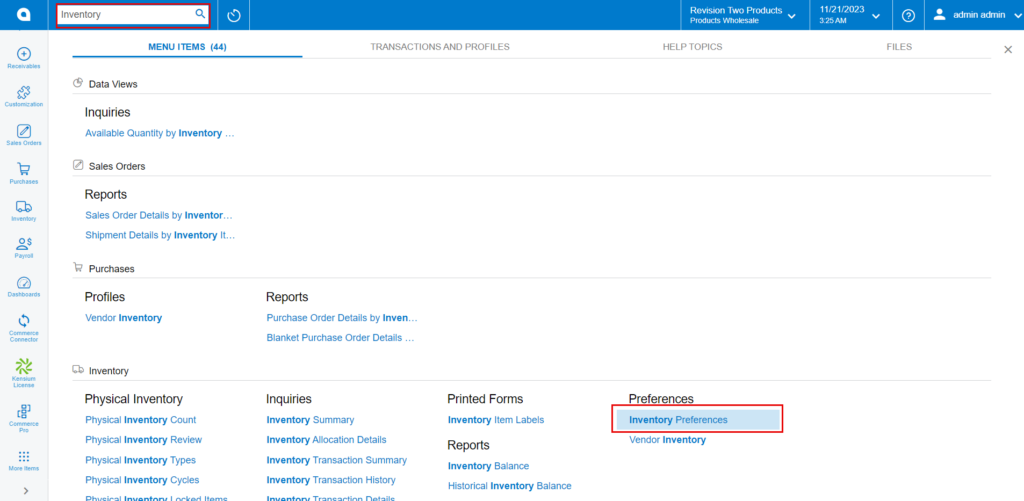
You need to search for [Inventory Preferences] in Global search bar and then click on [Inventory Preferences] under Preferences.
-
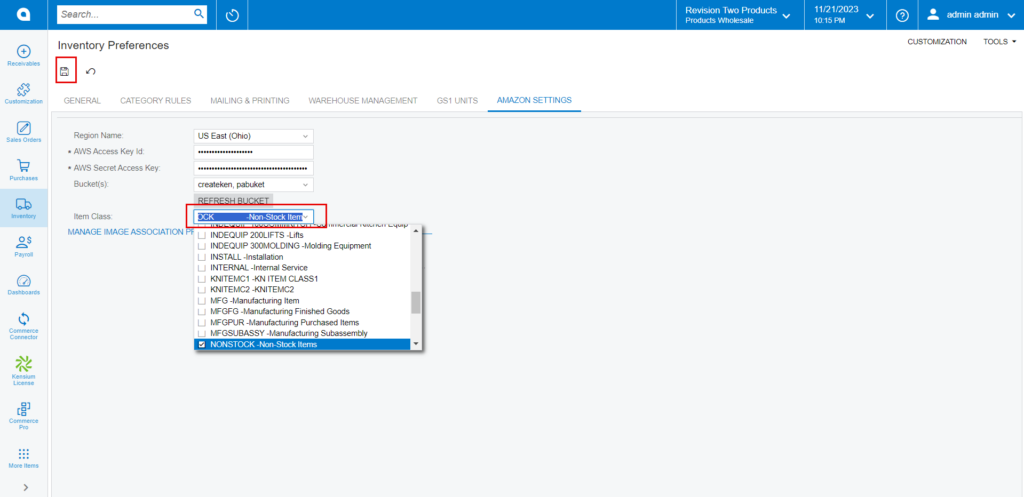
Click on [Amazon Settings] tab then you need to fill out the details.
-
Search for the item class
- Non-Stock items: You must select a non-stock items.
-
Search for the item class
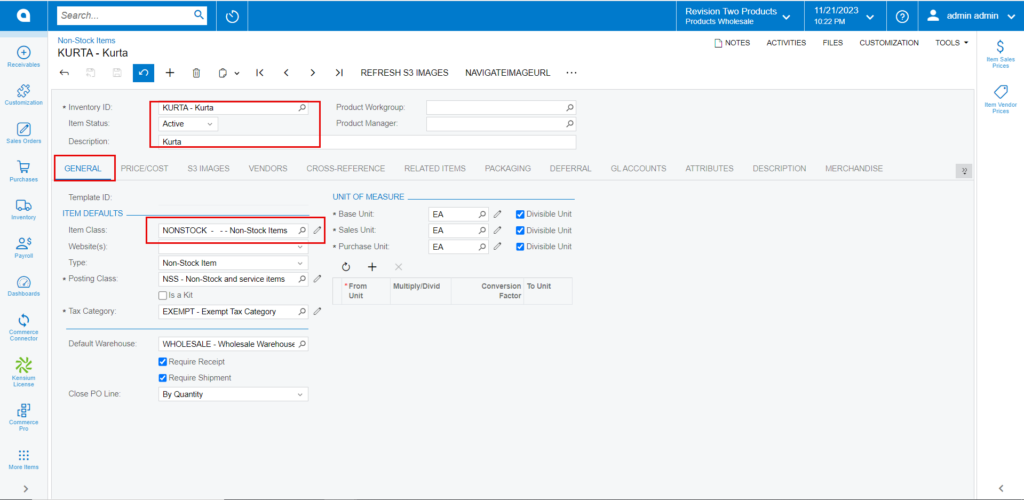
- You must navigate to the left panel of Acumatica and click on [Inventory] and then click on [Non-Stock Items] under [Profiles].
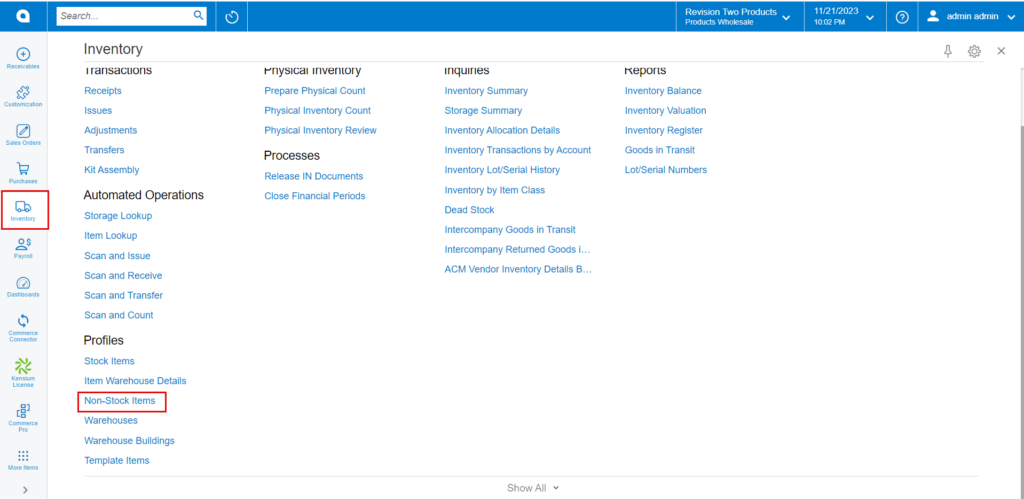
- Click on the [+] icon, then you will be redirected to the stock items screen.
- You need to create an [Inventory ID].
- Select the Item status as [Active] from the drop-down.
- You can add the [Description].
- Select the [Item class] as non-stock from the options menu.
- Click on [Save].
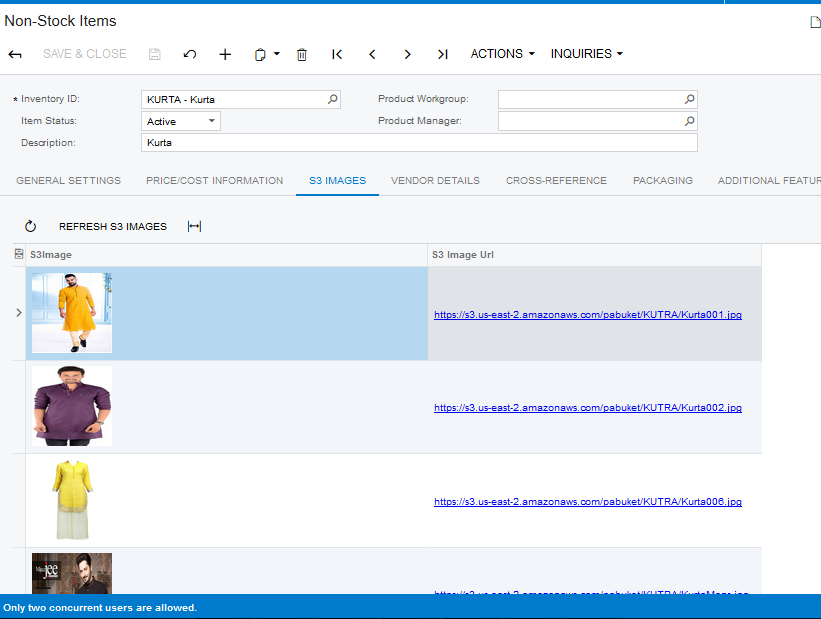
- Click on [S3 IMAGES] tab.
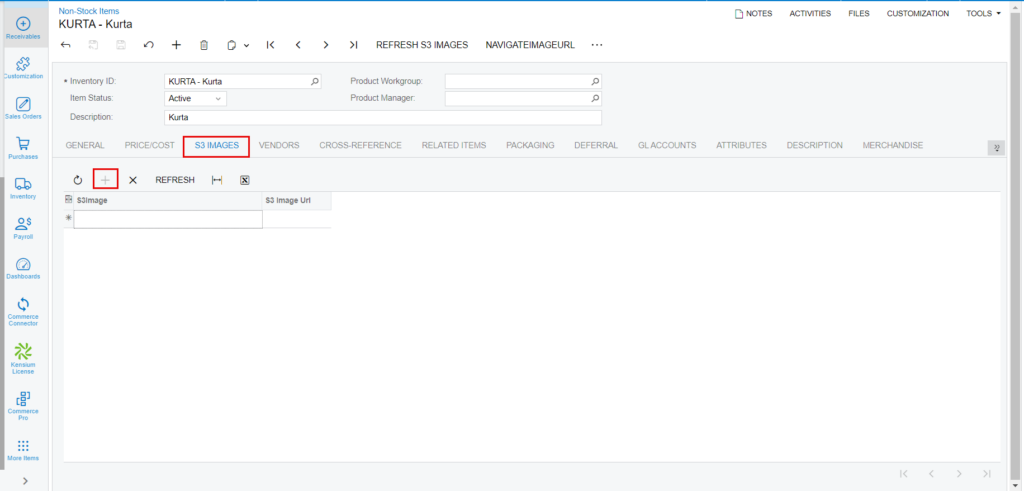
- To add images to the non-stock screen, you must follow the same procedures that you did for the stock items.