Create POS Admin in KENSIUM
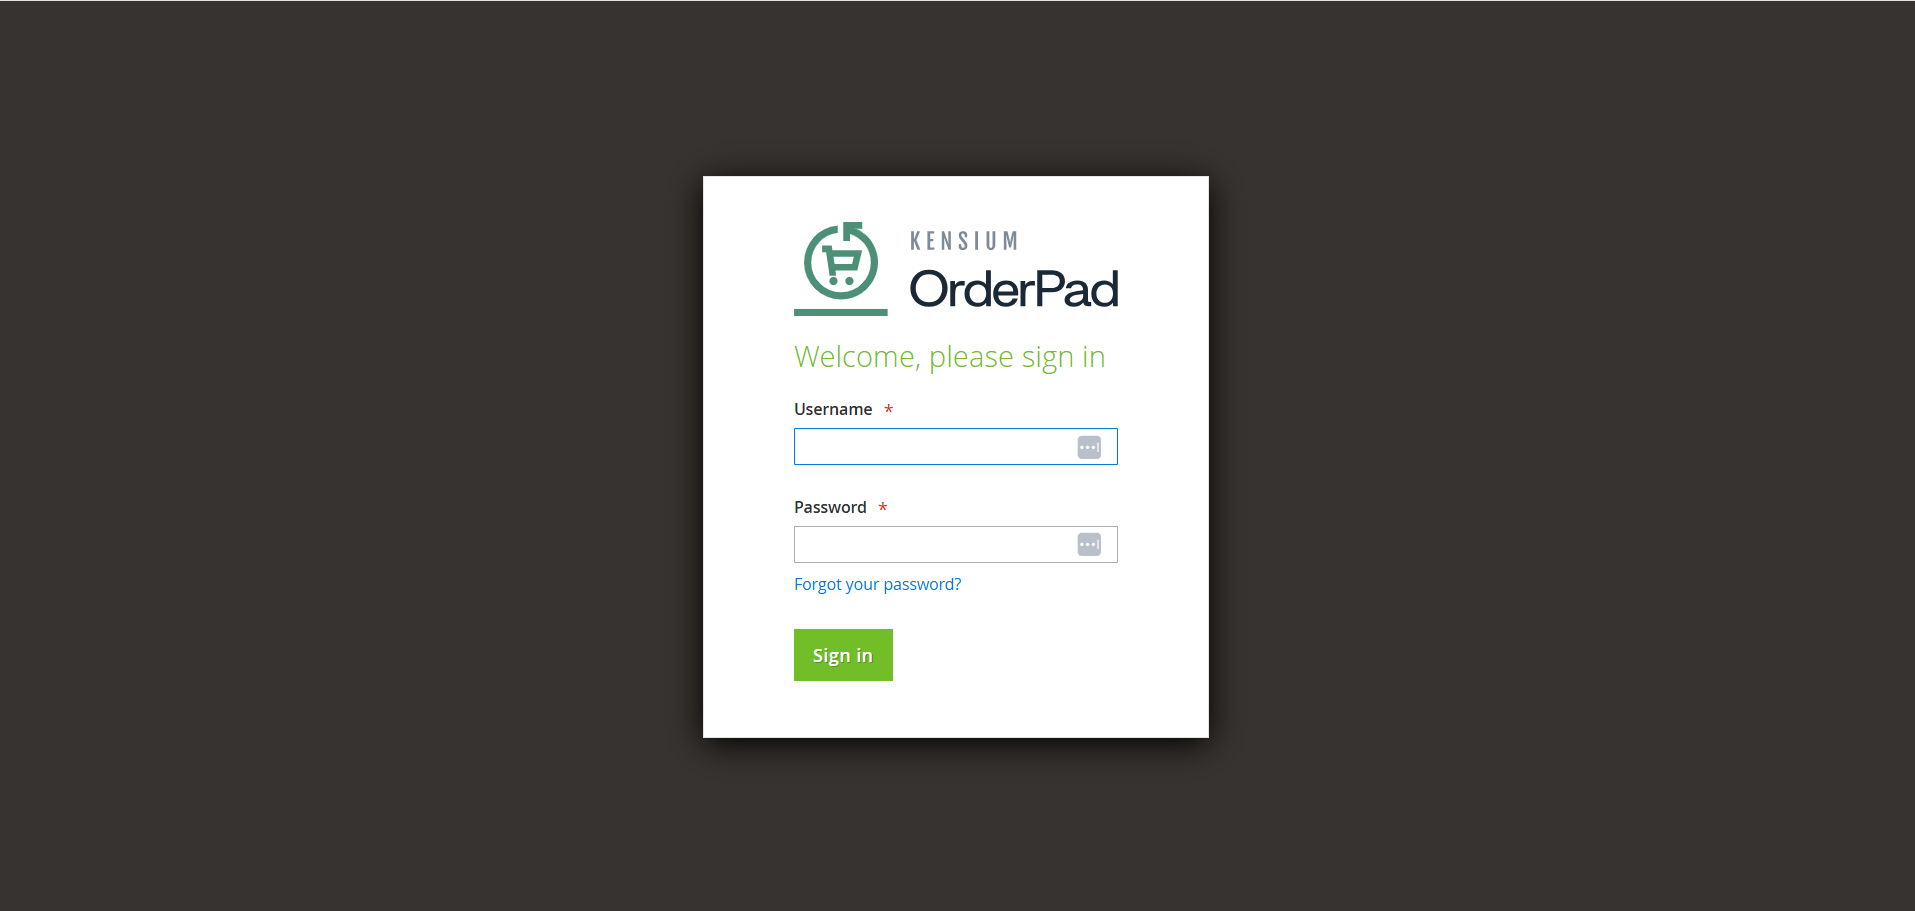
To create a POS Admin in KENSIUM, you need to login to Kensium. Enter the Credential to log in as shown below.
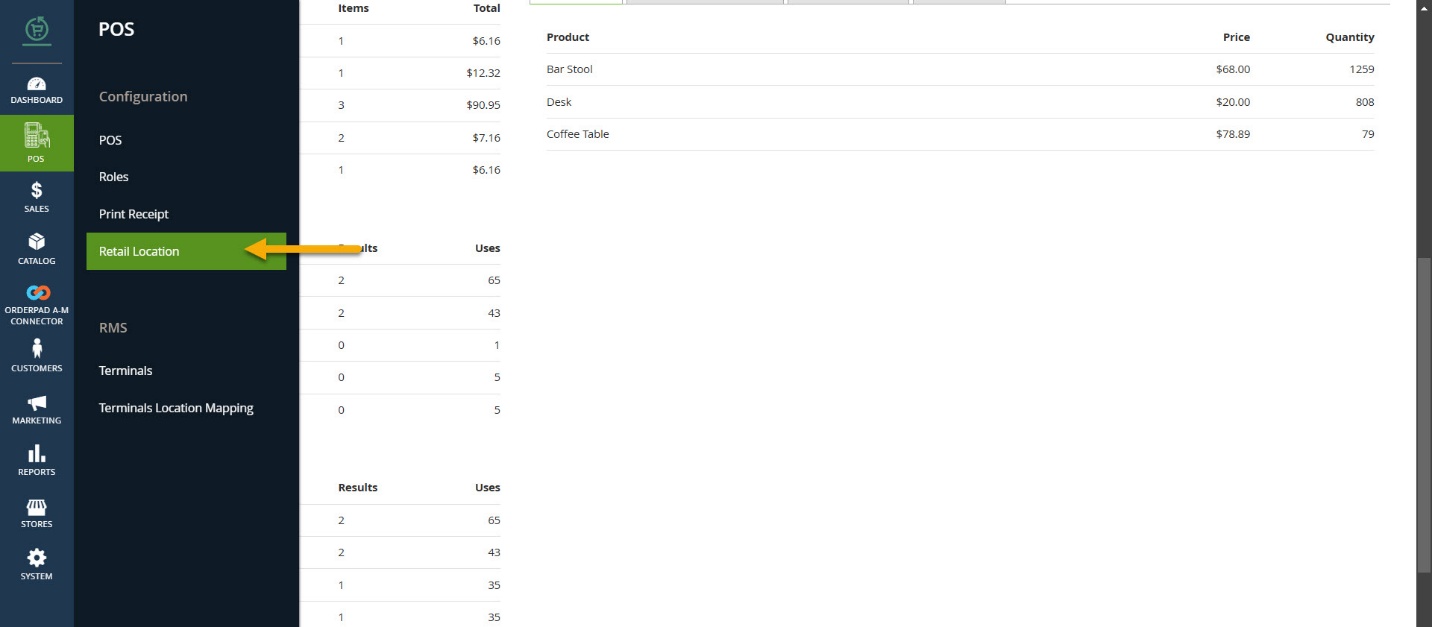
From the left navigation pane select [KENSIUM POS] and click on Retail Location menu.
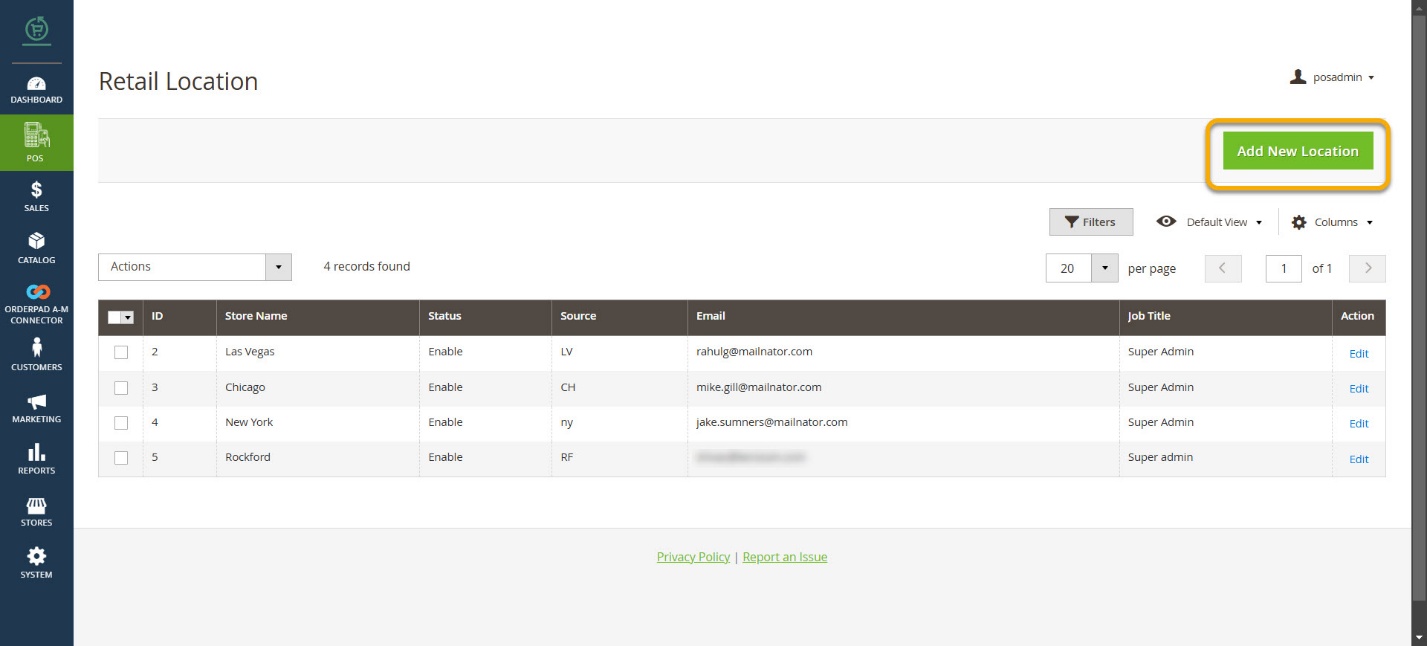
You will be taken to the screen where you can [Add New Location]. After creating the location, you can then choose the staff admin for the newly created location.
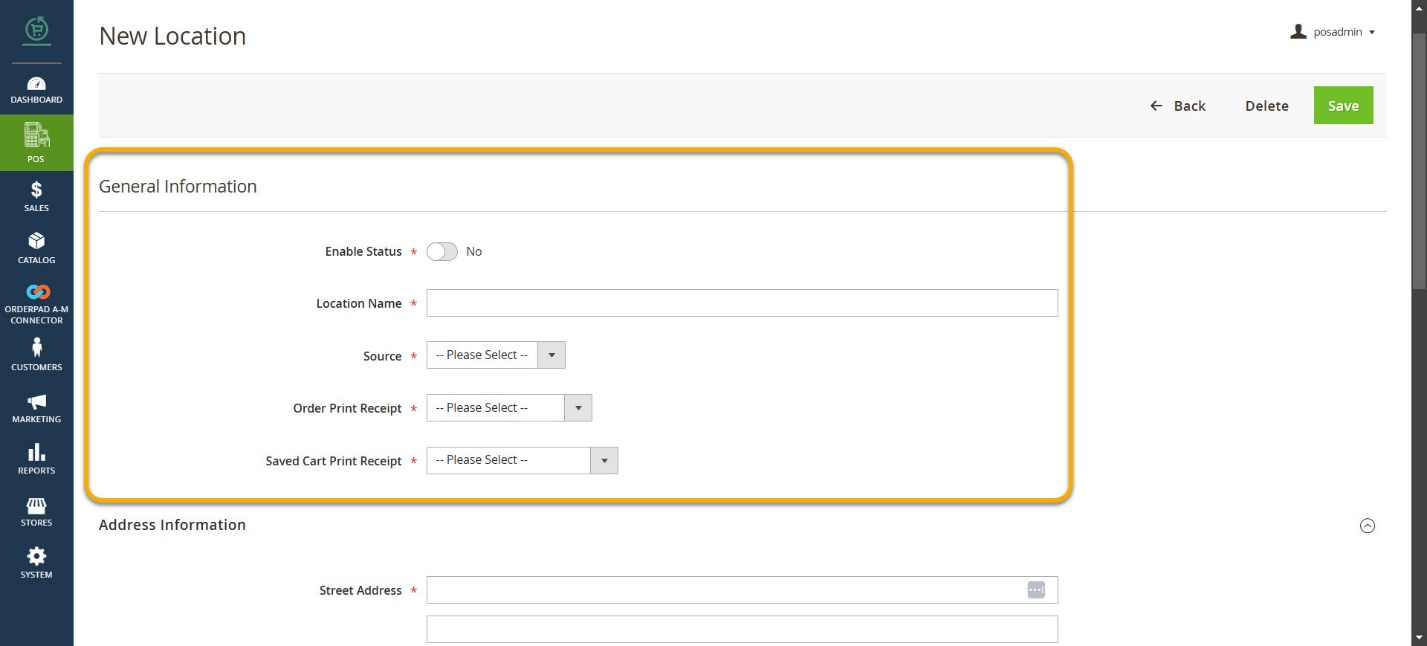
- When you select [Add New Location], the Retail Location screen will appear. Enter the necessary details in the respective fields within sections such as General, Address Information, and Staff Admin.
|
Field |
Field Type |
Description |
|
General Information (* indicates Mandatory Fields) |
||
|
Enable Status* |
Toggle button |
To enable this section, toggle the button. |
|
Location Name* |
Textbox |
Enter the name of the Location |
|
Sources* |
Drop-down |
Choose the sources from the drop-down menu. If the sources are not available in the drop-down, you can create them by navigating to Stores à Inventory Sources. Follow this process if you wish to add a new source. This is equivalent to Acumatica Warehouse. |
|
Receipts* |
Drop-down |
Select the receipts from the dropdown menu. You have previously created various types of receipts through Kensium POS Print Receipt. These receipts will be accessible in the dropdown. Choose the one that aligns with your business requirements. Depending on the receipt selection, whether you have enabled or disabled specific sections (Header/Body/Footer) in the receipt, the information displayed on the receipt for any order processed through the selected sources will be based on your configured choices. |
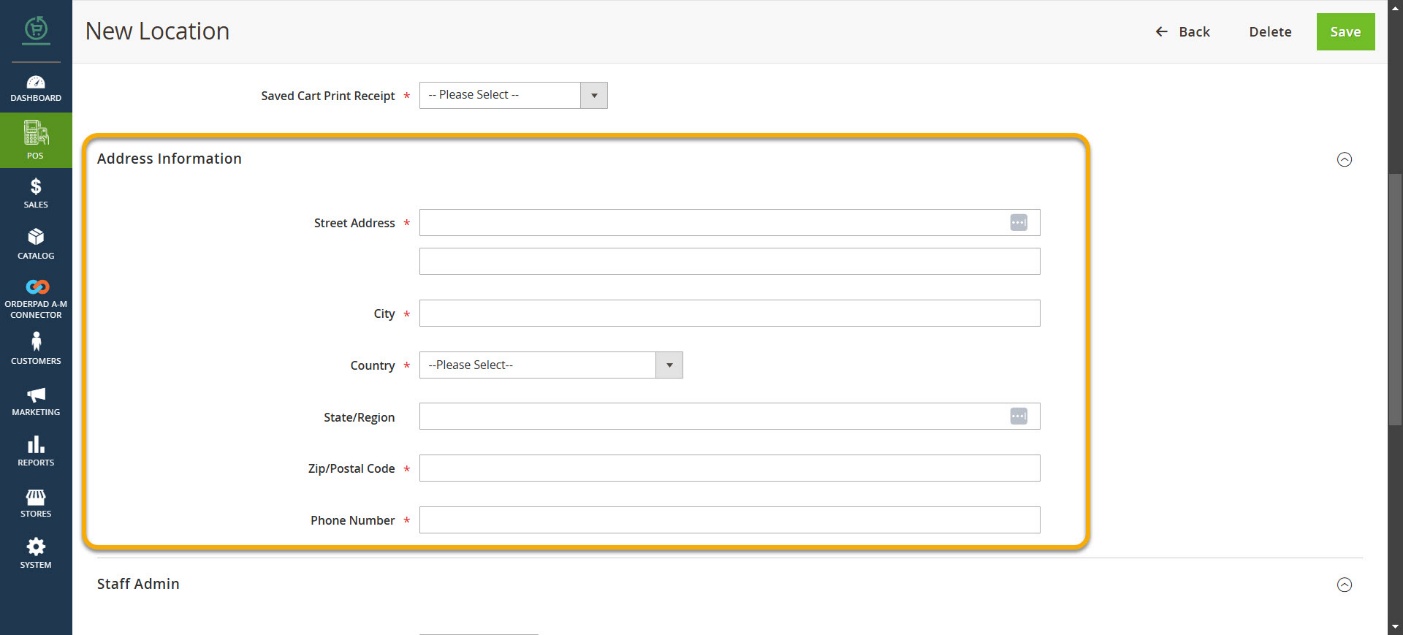
In the [Address Information] section we need to add the address details for the [Location]
|
Field |
Field Type |
Description |
|
Address Information (* indicates Mandatory Fields) |
||
|
Street Address* |
Text Field |
Street address |
|
City* |
Text Field |
Enter the name of the city. |
|
Country* |
Drop-down |
Select the country from the drop-down. |
|
State/ Region |
Text Field |
Enter the State or the Region. |
|
Zip/Postal Code |
Text Field |
Enter the Zip code or the Postcode. |
|
Phone Number |
Text Field |
Enter the phone number of the admin. |
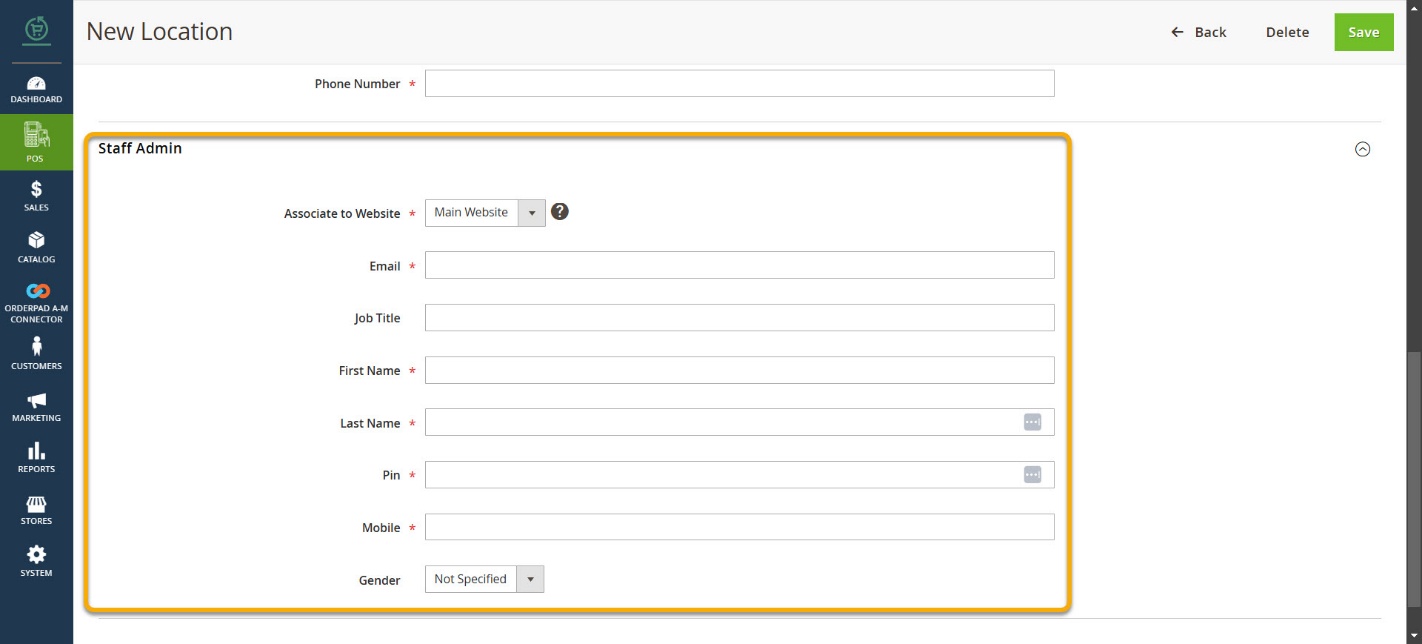
- Enter the Staff Admin Details.
|
Field |
Field Type |
Description |
|
Staff Admin (* indicates Mandatory Fields) |
||
|
Associate to Website* |
Drop-down |
By default, it will be the Main Website. If your OrderPad installation involves multiple websites, you can modify the scope and link the customer with a particular site. |
|
Email* |
Text Field |
Email address of the Staff Admin. |
|
Job Title* |
Text Field |
Enter the Job Title as Staff Admin |
|
First Name* |
Text Field |
First Name of the Staff Admin. |
|
Last Name* |
Text Field |
Last Name of the Staff Admin. |
|
PIN* |
Text Field |
Input the PIN. Note that this PIN is utilized to login to the OrderPad. |
|
Mobile Number* |
Text Field |
Enter the mobile number of the Staff Admin. |
|
Gender |
Drop-down |
This is optional. |
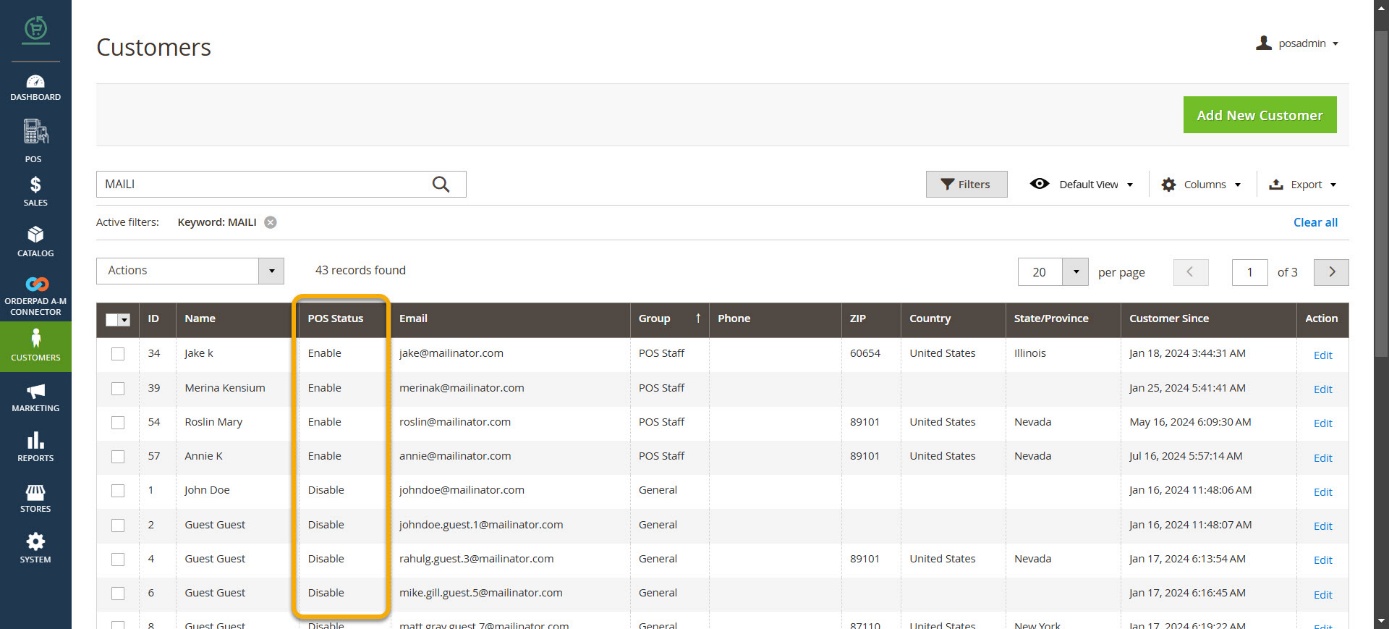
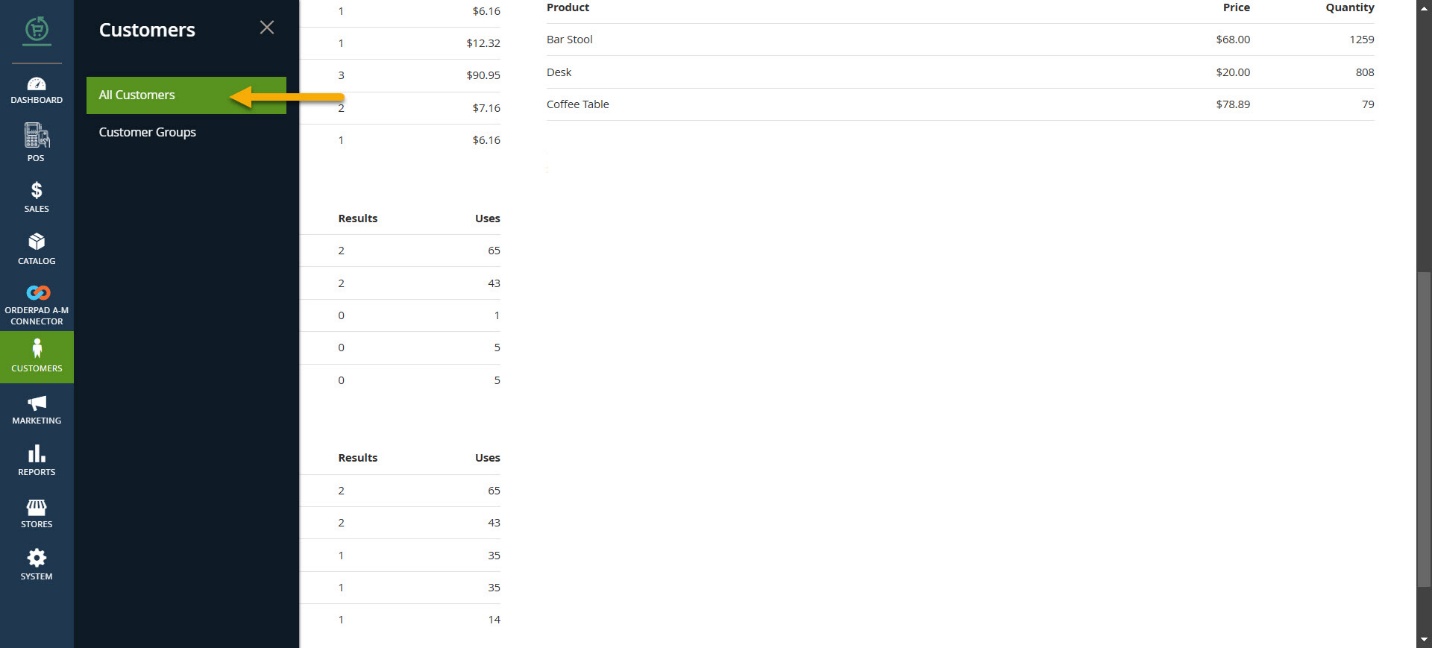
- Upon entering the necessary information, click [Save] to store the Staff Admin details. This Staff Admin/Customer will be saved under Customers à All Customers as shown below.
- On the [All Customers] screen, you can view that the [POS Status] of the Staff Admin you created is enabled.
