Refunding the Payment Using Credit Process
In the above section, we have explained to initiate the refund it should always be in [Open] status and how you can check the transaction details in the PayPal Portal. To process the refund, you need to follow the steps as described.
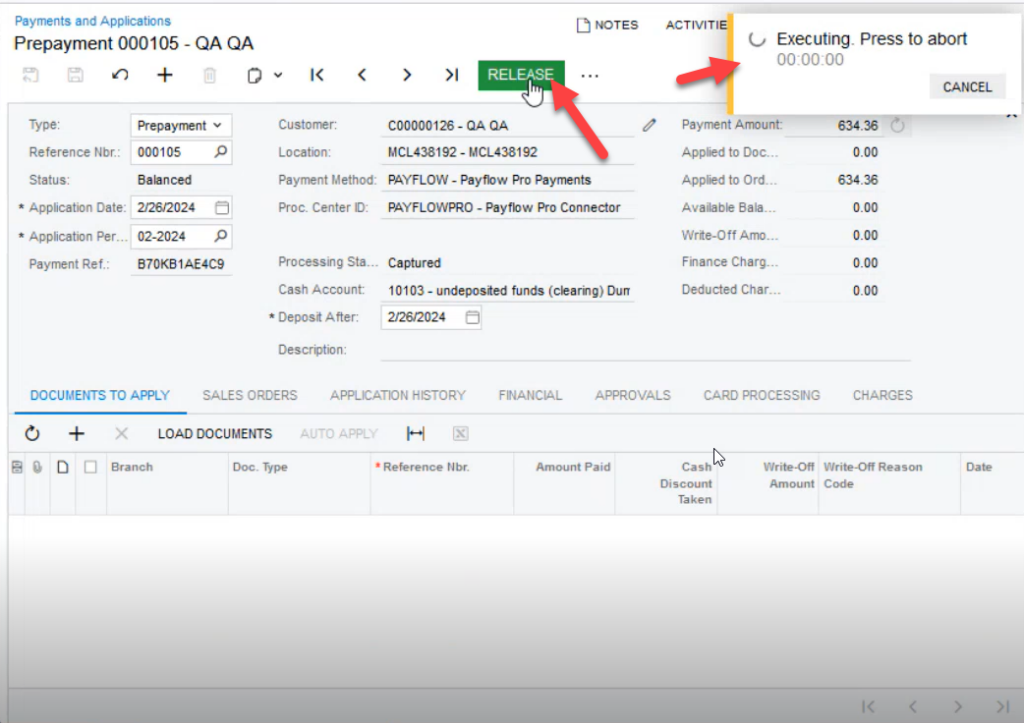
Step 1: Navigate to the Sales Order Screen in Acumatica and Release it from the Payment and Application screen.
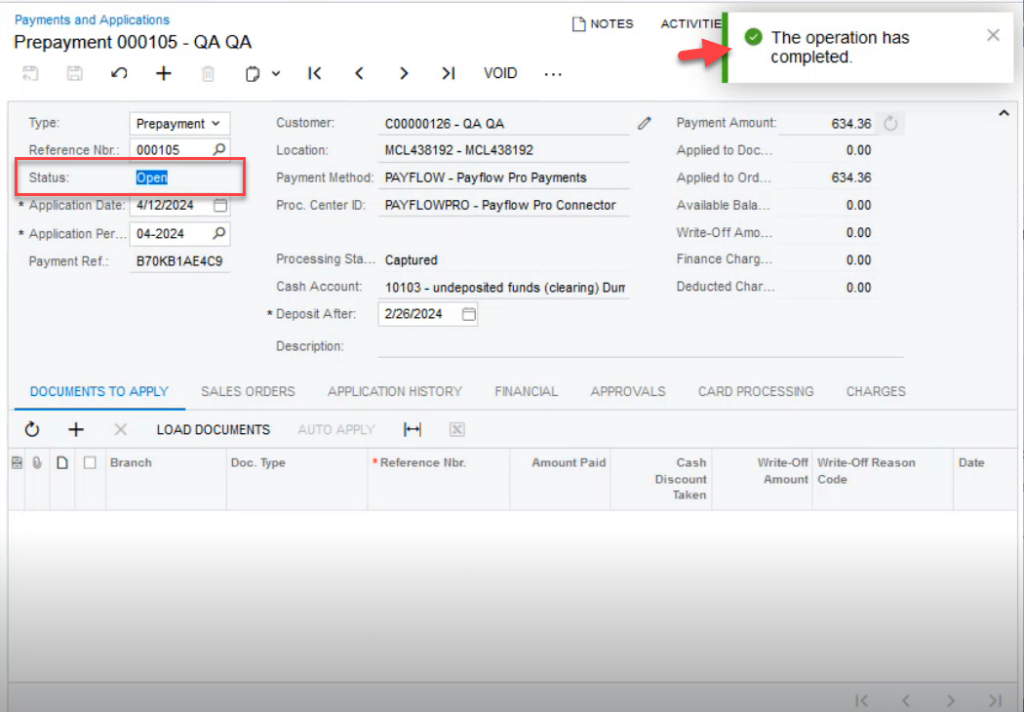
Upon successful execution a toast message will appear on your screen and the status will be changed to [Open] for initiating a refund as illustrated below.
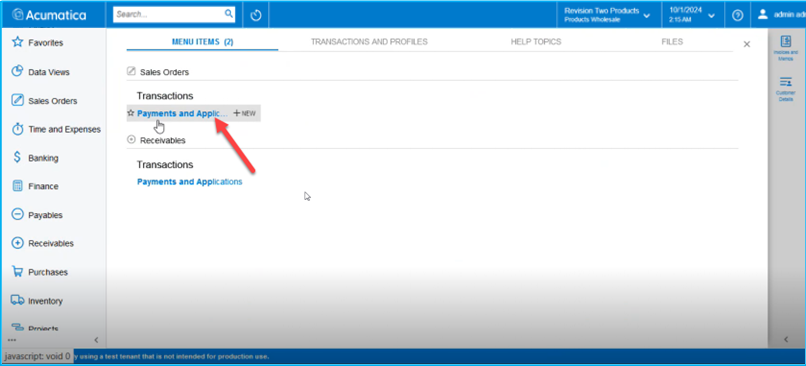
Step 2: Navigate to the Payment and Application Screen from the Global Search Bar of Acumatica as illustrated.
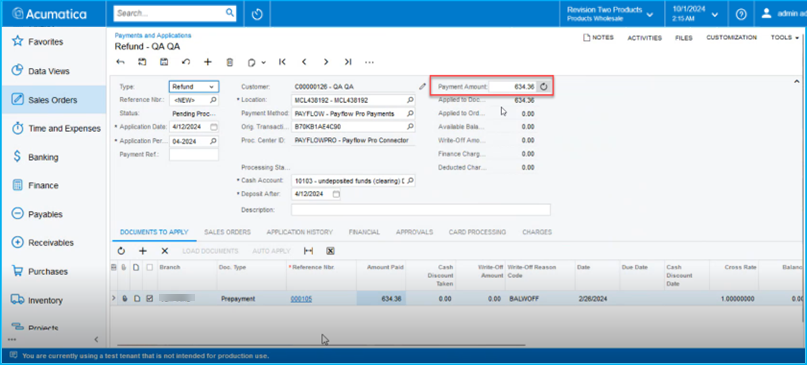
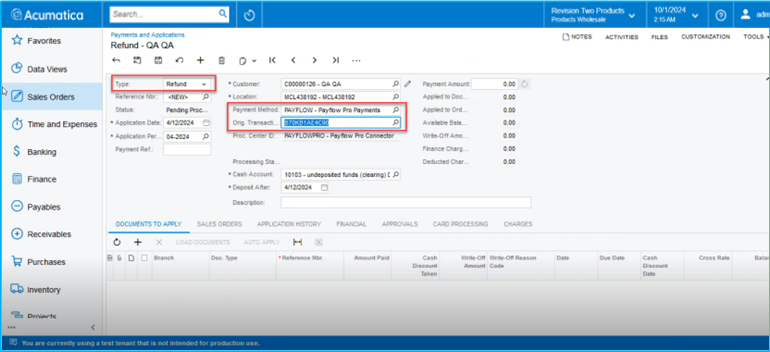
Step 3: Create a new [Refund] record for the customer. Once you select the customer, all the details of the sales order will be retrieved. You need to select the Payment Method from the look-up and the [Original Transaction ID] from the Sales order of the customer. Based on the Transaction ID the Cash Account will be automatically populated.
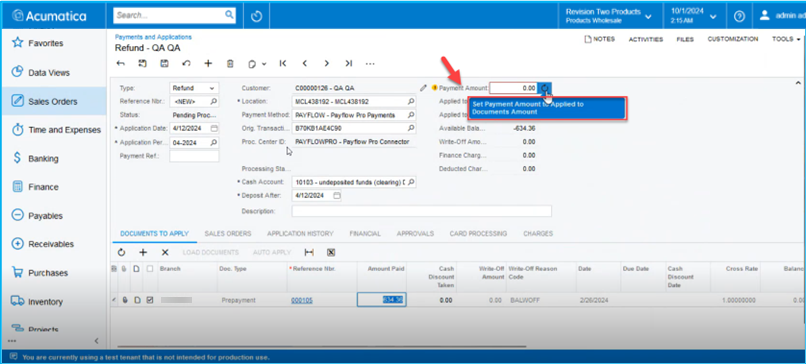
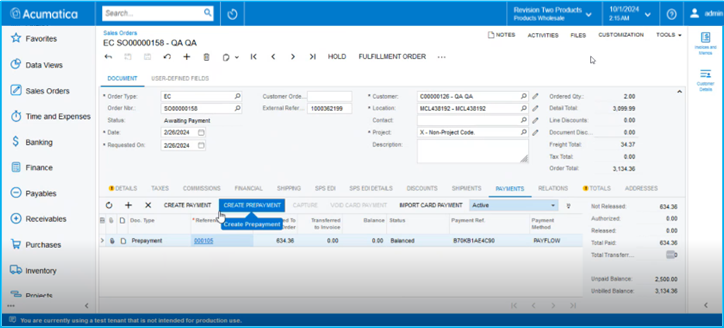
Step 4: Choose the appropriate document type based on the sales order. In the illustration, the sales order document type was prepayment, so select prepayment. If the Sales Order was created in Magento and synced to Acumatica, the payment record will appear as [Prepayment]. To create a payment directly in Acumatica, use the [Create Payment] and [Create Prepayment] options.
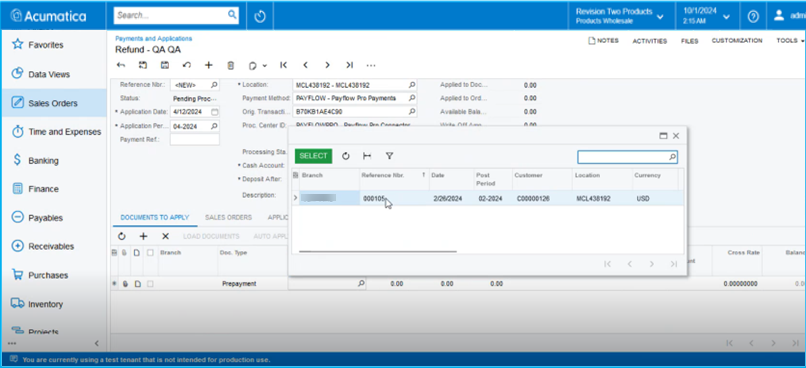
Step 5: After selecting the Doc. Type, you need to select the Reference Number by using the look-up. The pop-up will appear on your screen, and you simply need to select the reference number.
Step 6: Once all the details are filled in go to the [Payment Amount] option at the top. You will see a refresh button [Set Payment Amount to Applied to Documents Amount] beside the field as illustrated below.