Attributes in Product Schema
The attributes that you have created are displayed in [Product Schema] of Acumatica.
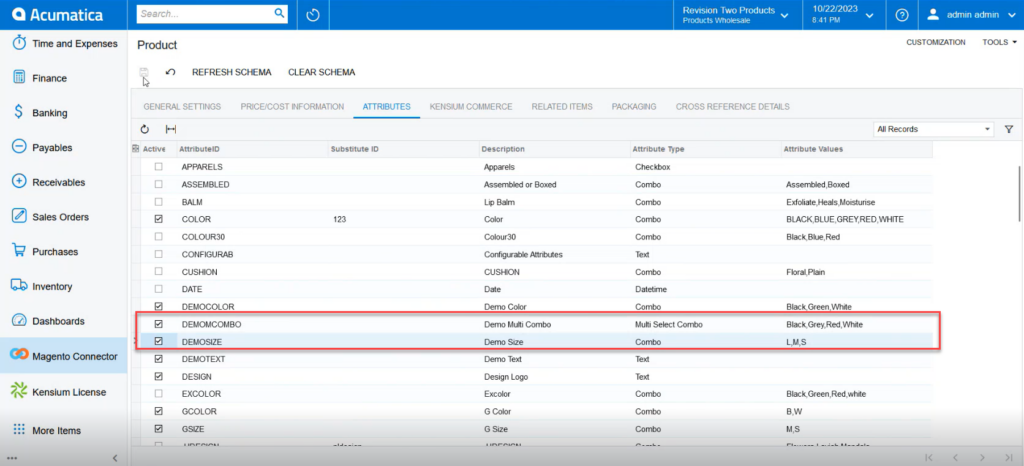
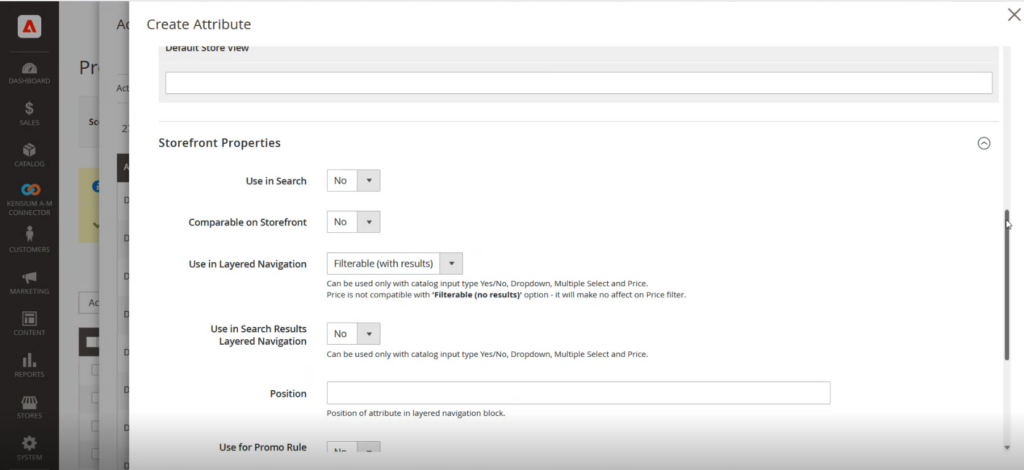
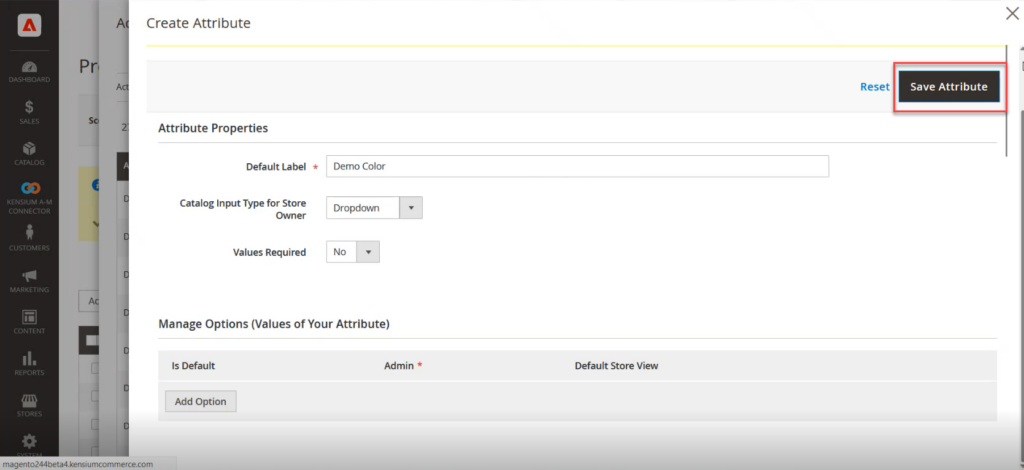
You can also create Date and Text boxes.
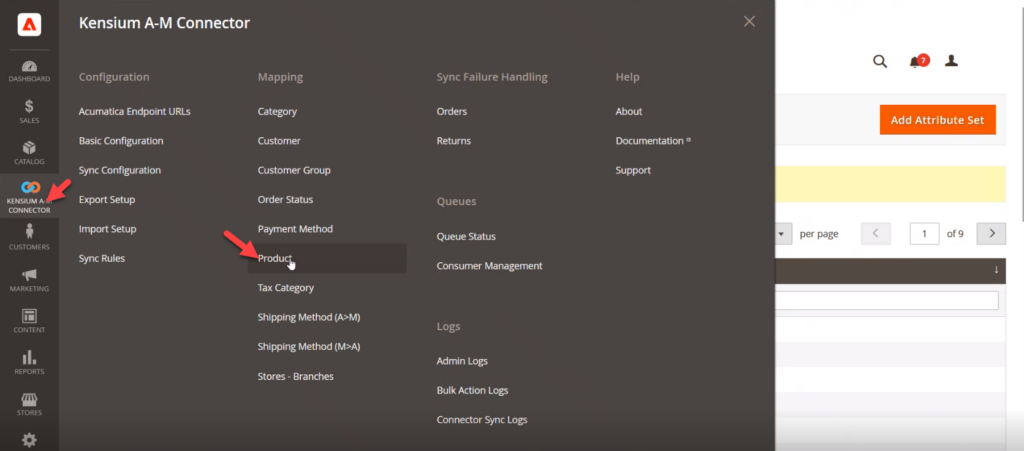
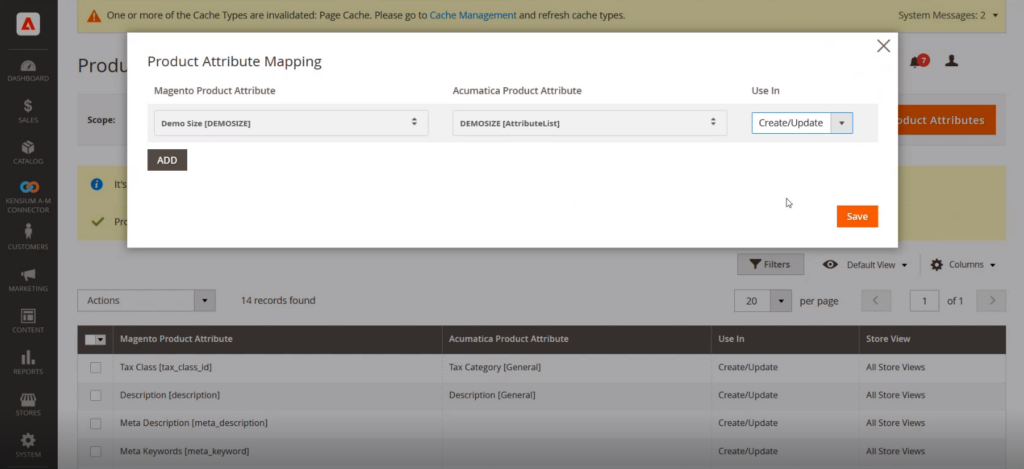
You need to Map the newly created attributes with Magento. To map the attributes, go to the Mapping section of Magento and click on Product Mapping.
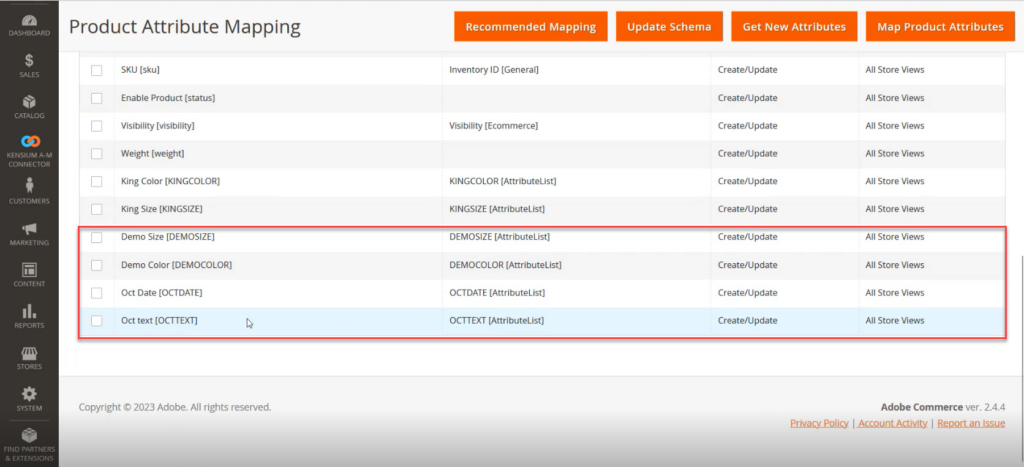
To fetch the attributes from Acumatica you need to click on [Update Schema].
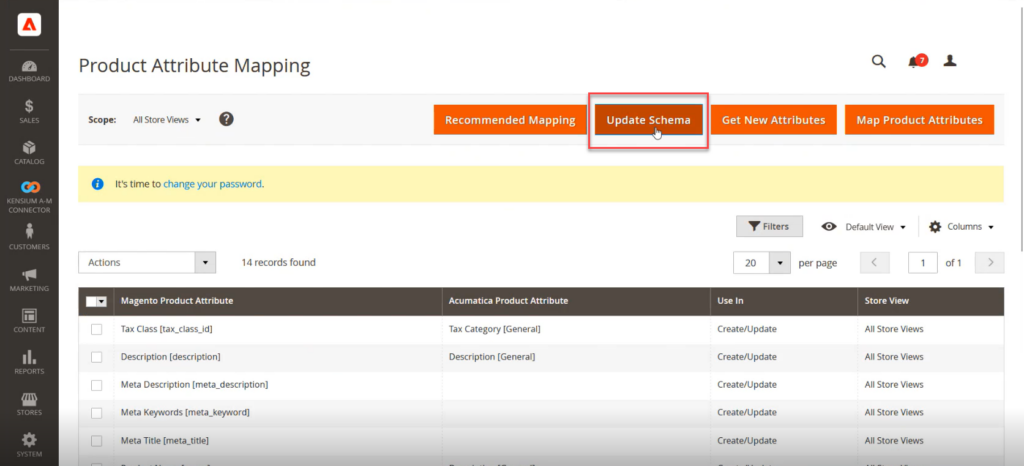
From the Get New Attributes you will be able to filter the new attributes which you have created and synced.
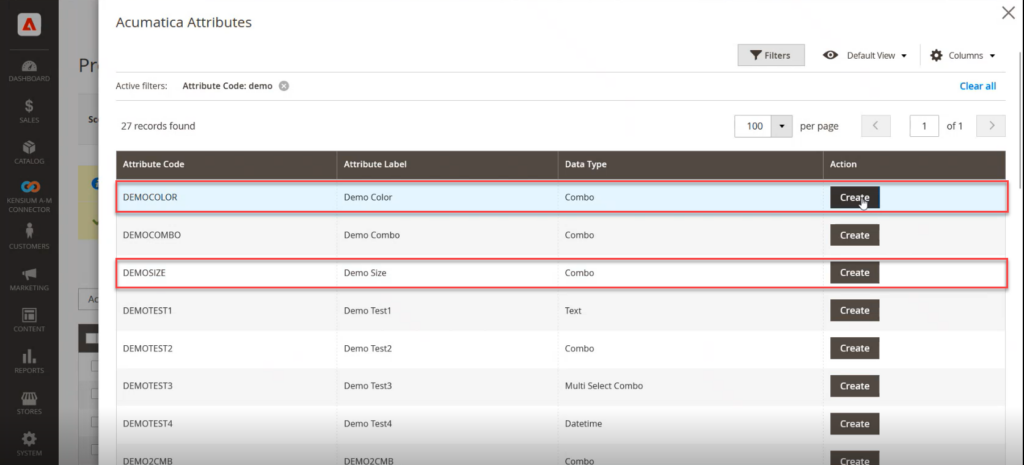
Follow the below screenshot to proceed to create the attributes in Magento from Acumatica.
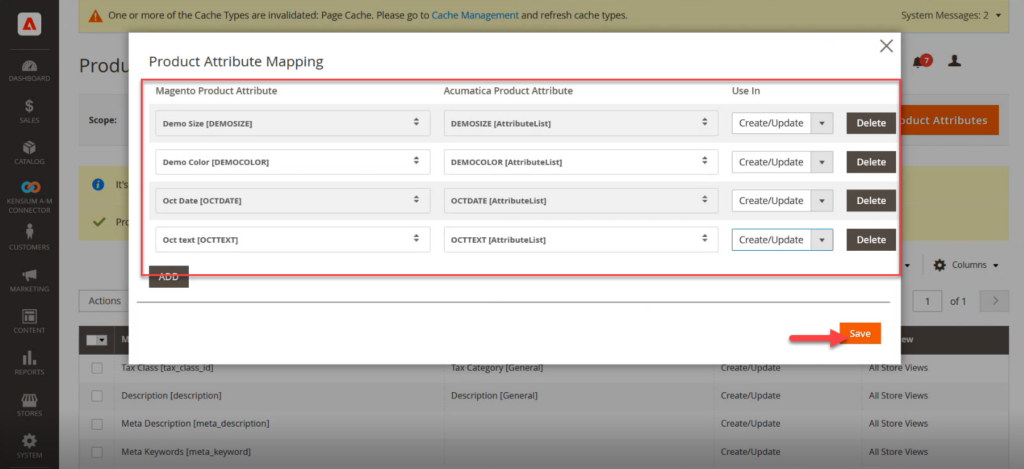
Similarly, the 4 attributes which you have created in Acumatica will be shown in Magento and you need to configure those 4 attributes. So, after configuring the attributes you need to map those 4 product attributes with Magento product Attributes and Acumatica Product Attributes.
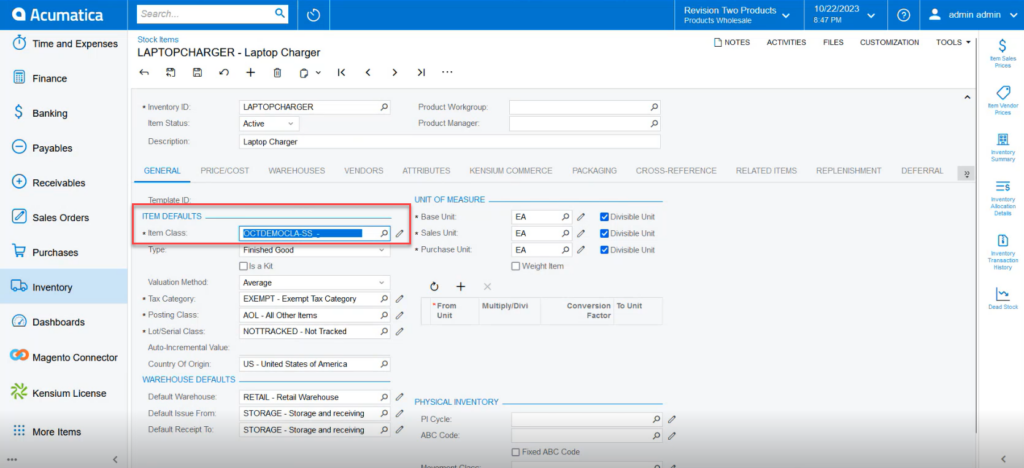
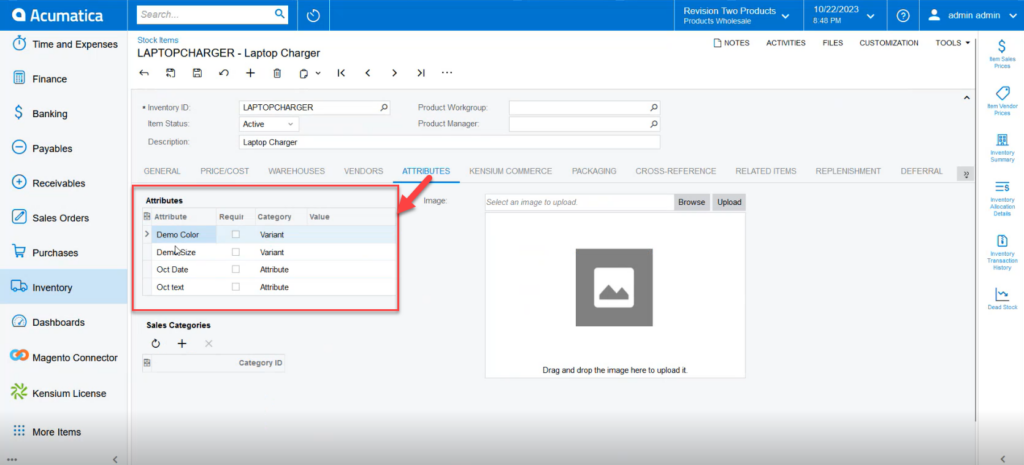
Now in Acumatica create a simple stock item with this same Item Class which you have created before.
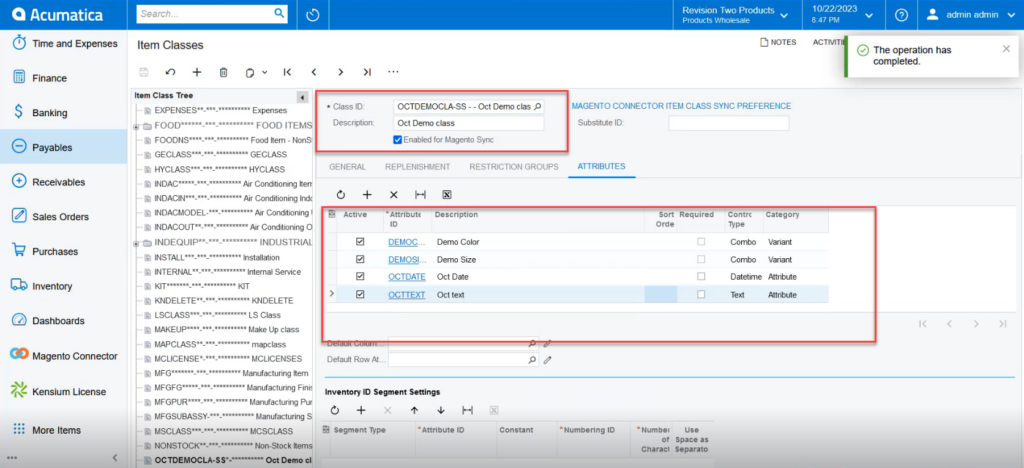
You need to create a product with the same Item Class which will be shown in the Class ID.
The mapped attributes will be shown here against the product. You may have multiple attributes; however, the condition is it has to be mapped then only it will be displayed.
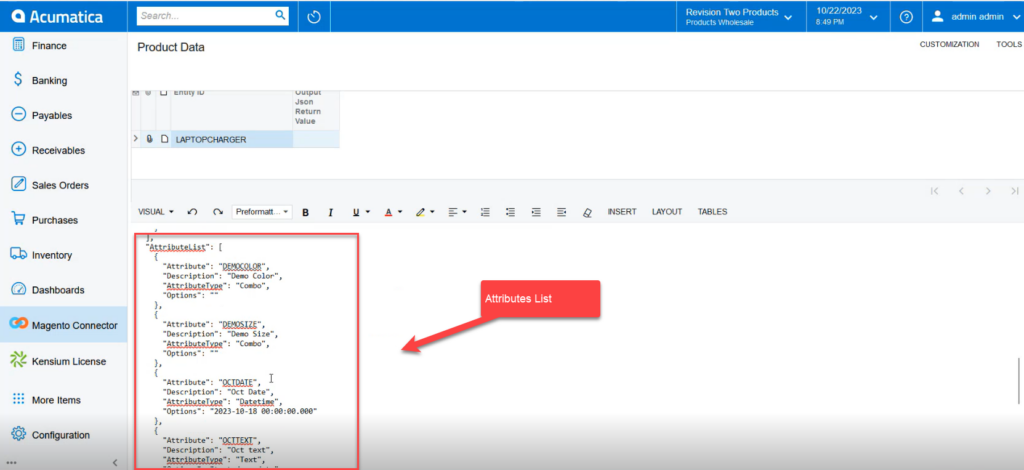
To check the data processing, you need to the Product Data, and you can search by the product that you have created. This process will ensure that the data is being synchronized from Acumatica to Magento.

You can check whether the data is passing or not from the Acumatica Connector Logs.
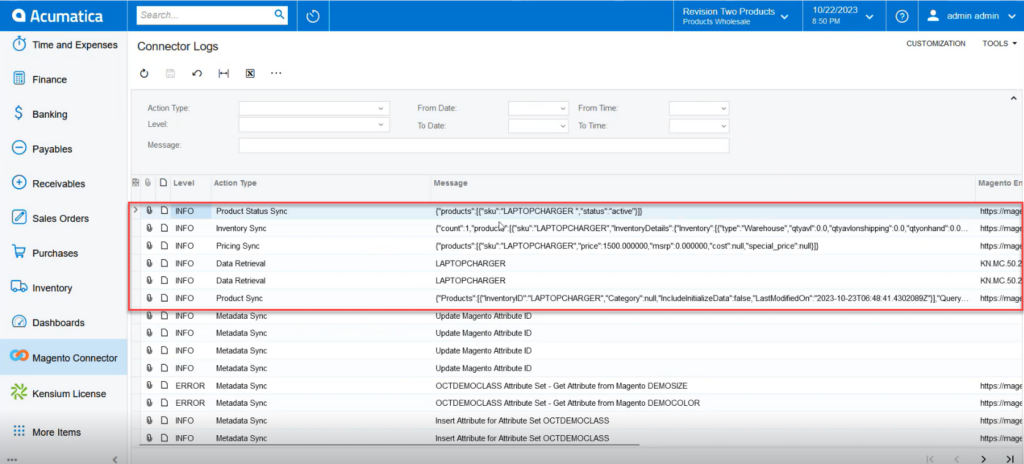
On the Magento connector log, we can check the same.
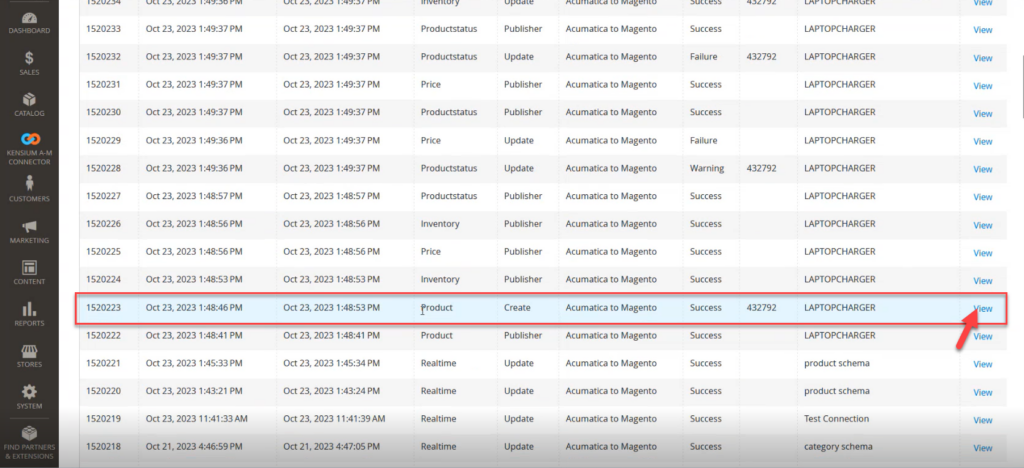
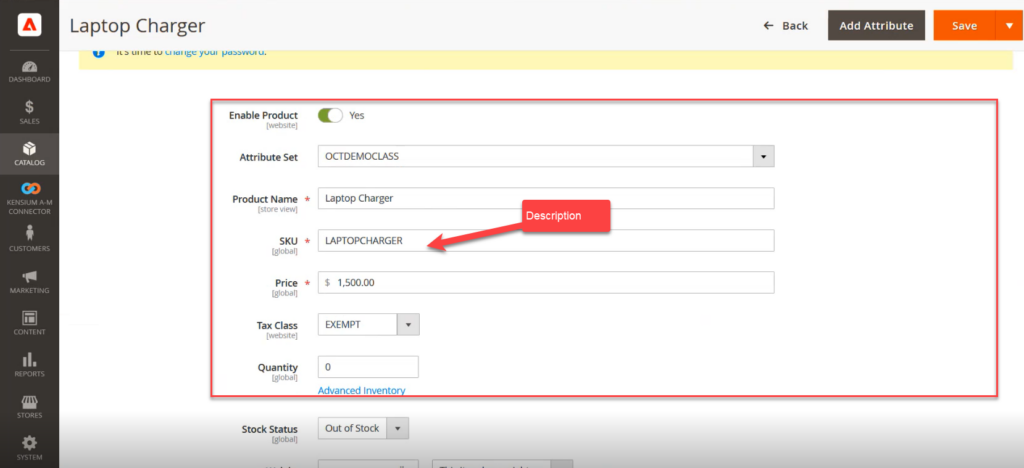
Upon clicking on the [View] link you will be redirected to the following screen from where you can view all the product-related details.
While creating the Product no color or size was selected. So, in Magento, these two product attributes will be displayed as blank. However, the drop-down will show the option that was created in the first place.

The above illustration is related to Simple Stock Items. You can follow the same procedure for the Non-Stock Items. The only difference between Stock and Non-Stock is that Non-Stock will not have the Quantity.