Configuring Kit Specifications in Sales Order
To configure the [Kit Specifications] in the Sales Order you need to follow these steps.
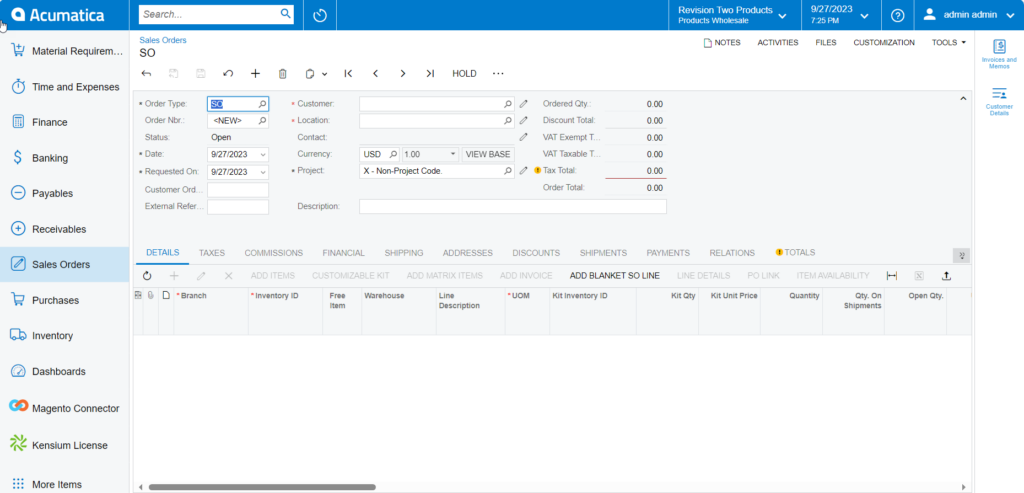
- Go to the [Sales Order] section on the left panel of the Acumatica application and click on the [Sales Order].
- By clicking on the [+] sign, a new Sales Order browse will appear on your screen.

On the Sales Order browse, you need to enter the field details as described below.
- Select the Customer.
- You need to click on the [+] sign under the Details, In the [Inventory ID] field search for [Kit Inventory ID] which is created in Kit Specifications.
- After selection of the Inventory ID [Save] the sales order to enable [CUSTOMIZABLE KIT].
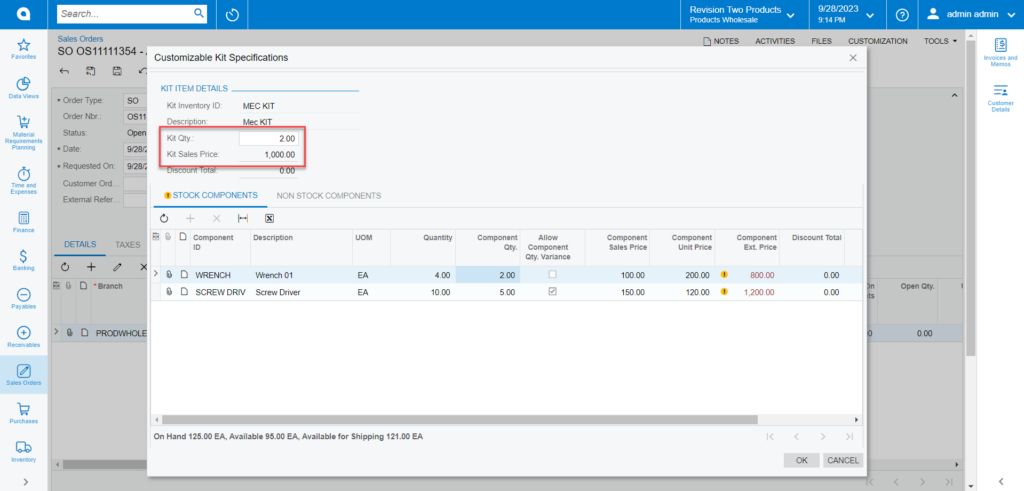
- Click on [CUSTOMIZABLE KIT]. A new screen will appear on your system.
- [Kit Inventory ID] and the [Description] will be auto-populated.
- You need to enter the [Kit Quantity] as shown below.
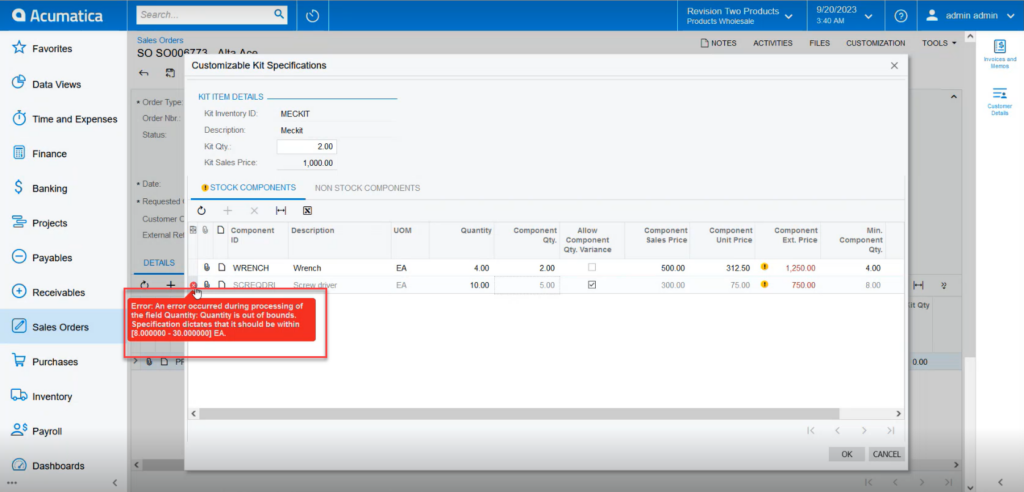
- The stock items which are configured in the [Kit Specification] will be displayed with quantity. The application will not allow you to increase or decrease the quantity. If you manually decrease the quantity the application will show you an alert message as shown in the below screenshot.
- On the Customizable Kit Specification click on [OK] to Save.
- The pop-up will be closed, and you can view a new screen.
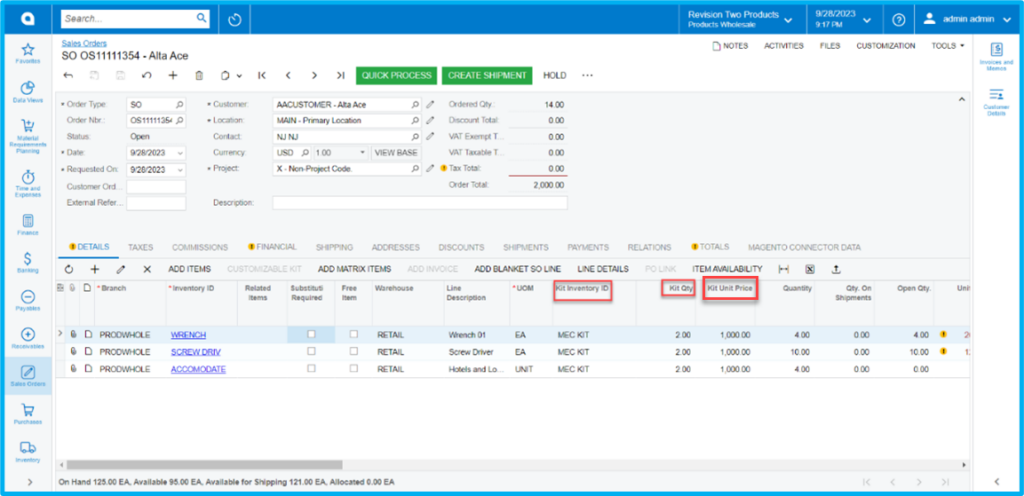
- The components added in the KIT specification will explode and display in the Sales Order line details. [i.e., Parent Items will automatically be deleted, and components will be displayed in the Sales Order Lines].
- The Parent Item, Kit Qty., and Kit Unit Price will be displayed in the Kit Inventory ID, Kit Qty., and Kit Unit Price columns in the browser as shown in the figure.


Calculation Logic for Component Ext. Price:
(((Component Ordered Qty *Component Sales Price) *(KIT Order Qty * KIT Sales Price)))/ (Sum of Component Sales Price)/Component Ordered Qty.
