Order Returns in Magento
Once the order gets completed in Magento the option for order returns will be enabled. You can only return the order from Magento. Acumatica doesn’t provide this facility for Order Return.
To create a return or RMA you need to follow these steps.
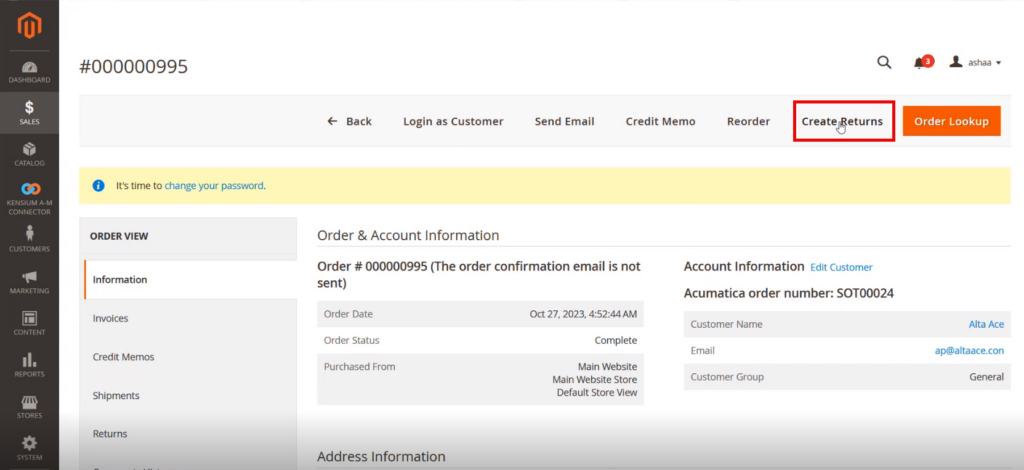
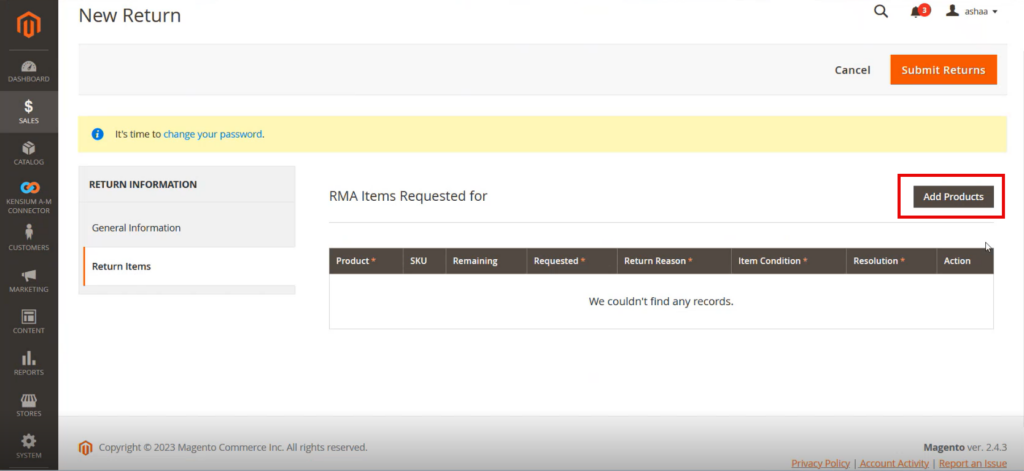
Step 1. For completed orders [Create Returns] will be enabled. Click on the Create Return. You will be redirected to the following screen.
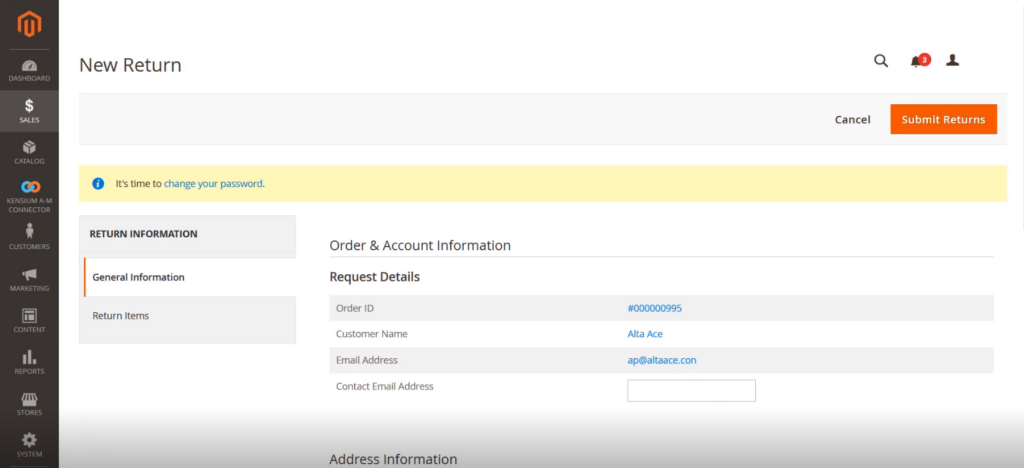
Step 2: Under General Information, you will get an option for Return Items. Click on Return Items. You will be redirected to the following screen.
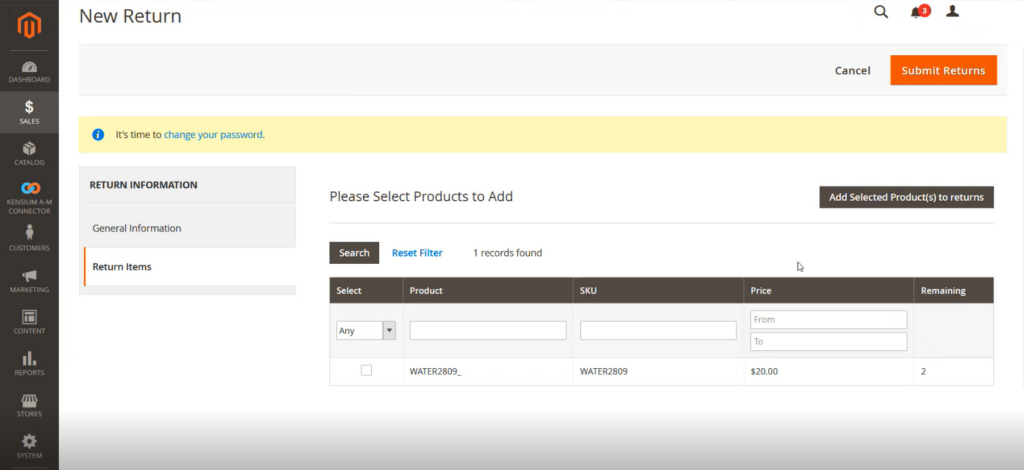
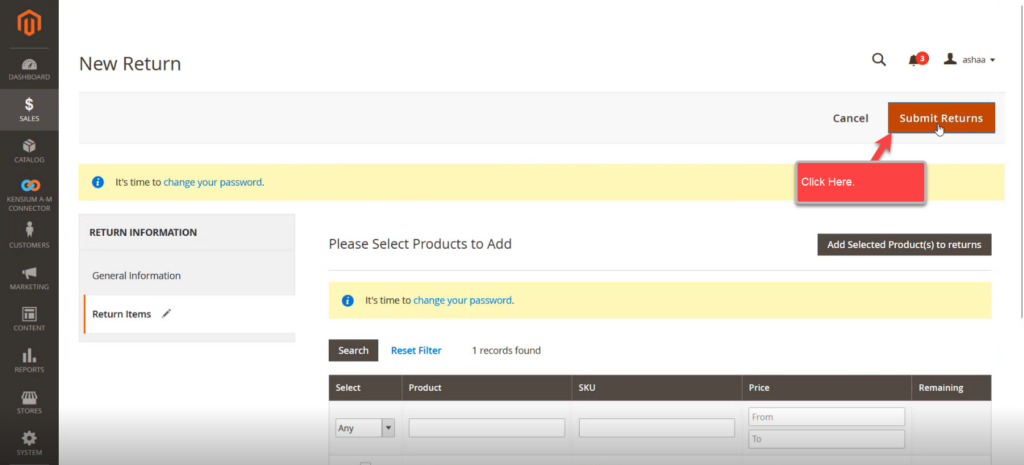
Step 3: You will be able to view the Product list along with the quantity and Price.
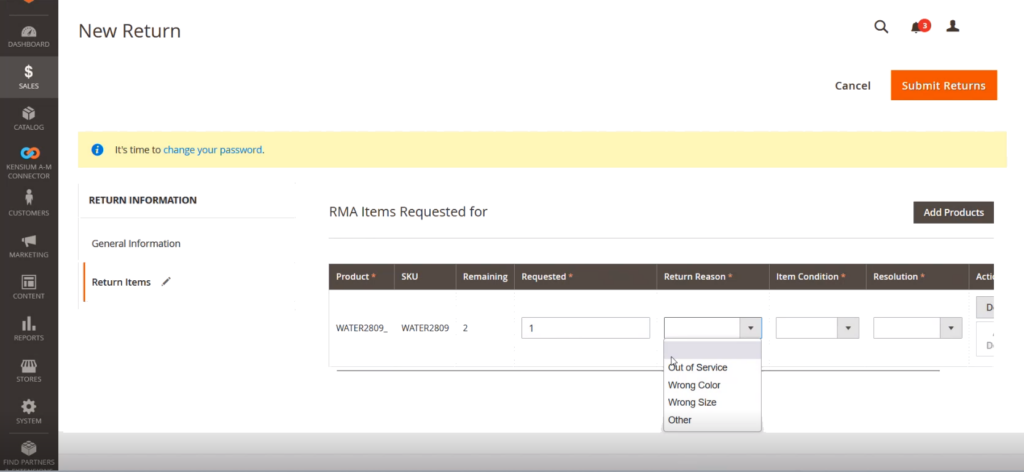
Step 4. Check the box for return. If you want a partial return, you can enter the quantity. You need to enter the reason for the return from the drop-down. In resolution you will have 3 options, however, currently, the application is using RC [Return of Credit].
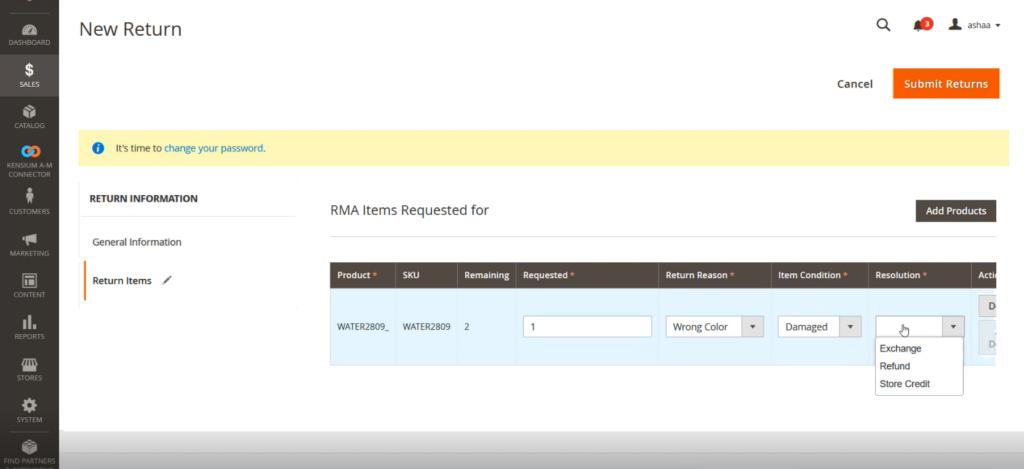
Step 5: After selecting the product and the quantity and reason for the return with resolution you need to click on [Submit Returns].
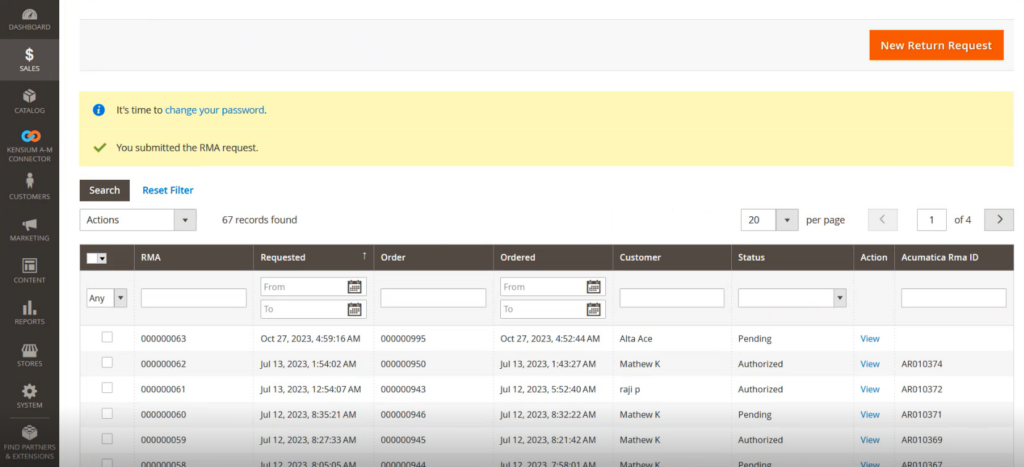
Step 6: You need to authorize the pending payment for RMA.
![Click on [View] to authorize the RMA](/wp-content/uploads/2023/12/Click-on-View-to-authorize-the-RMA-1024x469.png")
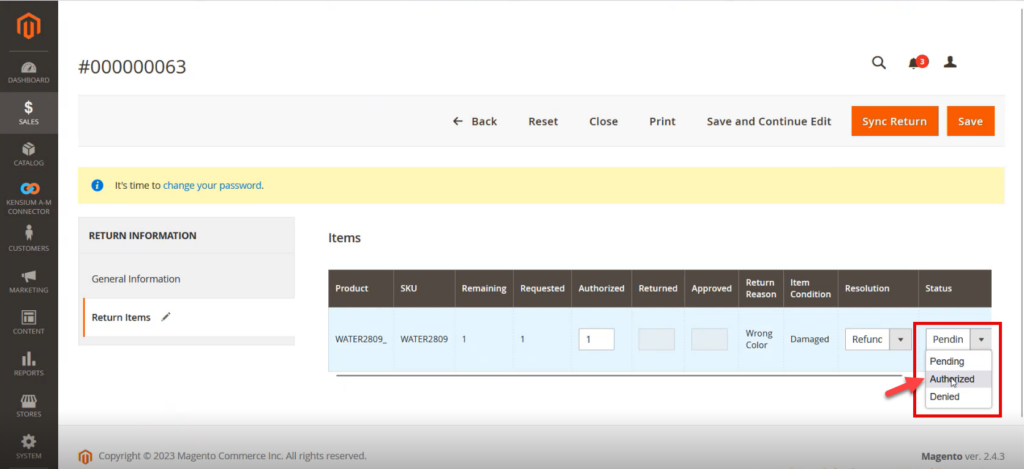
Step 7. You will be redirected to the following screen. Under the [Authorize] textbox you need to enter the quantity. Most importantly, you need to select the Status as [Authorize] to make sure that the return will take place from Magento. After the selection, you need to click on the [Sync Return] button on the top.
![Popup after clicking on the [Sync Return]](/wp-content/uploads/2023/12/Popup-after-clicking-on-the-Sync-Return-1024x466.png")
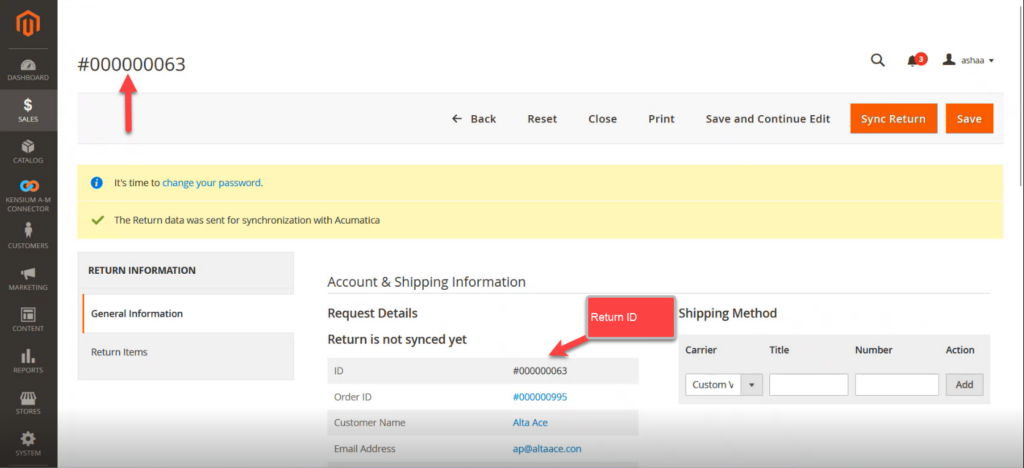
Step 8: Upon clicking on [OK] a Return ID will be generated.
Step 9: Go to the Magento [Connector Sync Log]. Make sure the queue is enabled for Magento Acumatica Return in Queue Management. In the Return sync in configuration, it should also be enabled for returns.
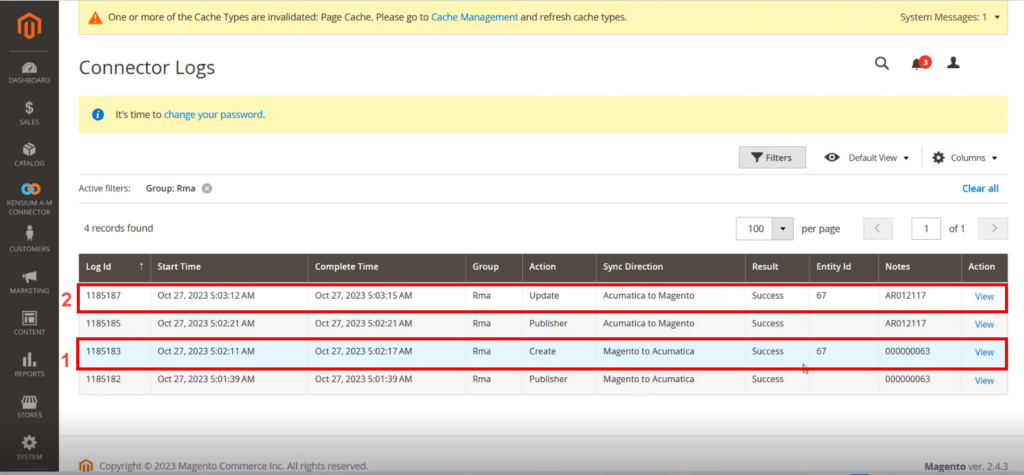
In the above screenshot row 1 indicates the RMA creation from the Magento to Acumatica with a reference number ending with 63.
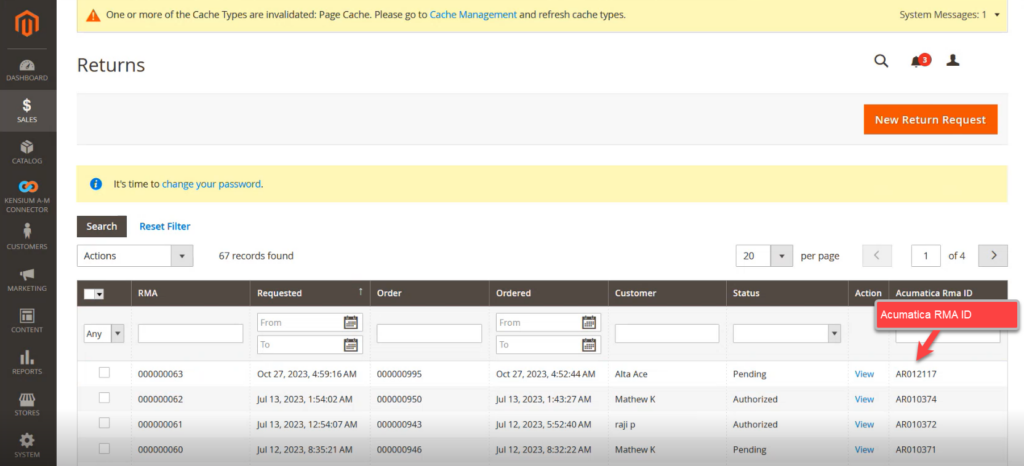
In row 2 you can view that the RMA entity ID is updated from Acumatica to Magento. Go back to the Returns screen you will be able to view the Acumatica RMA number.
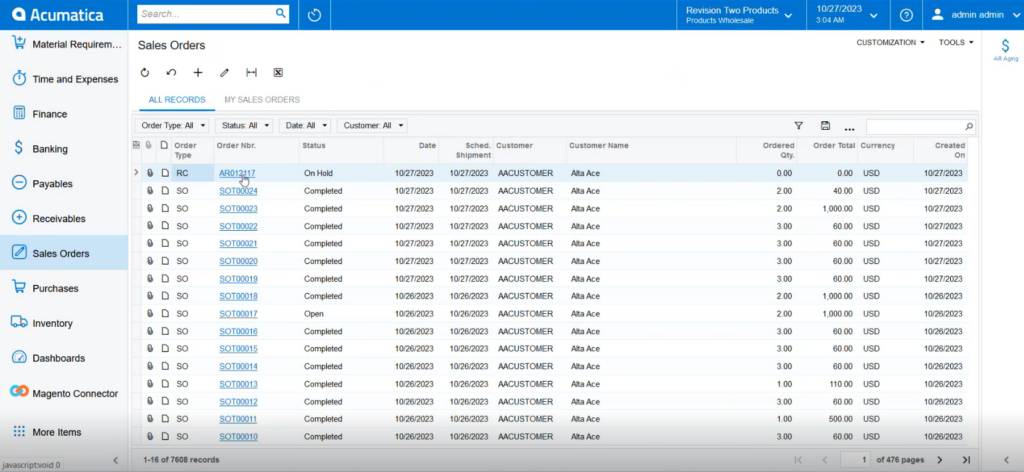
Step 10. Go to the Acumatica Sales Order Screen.
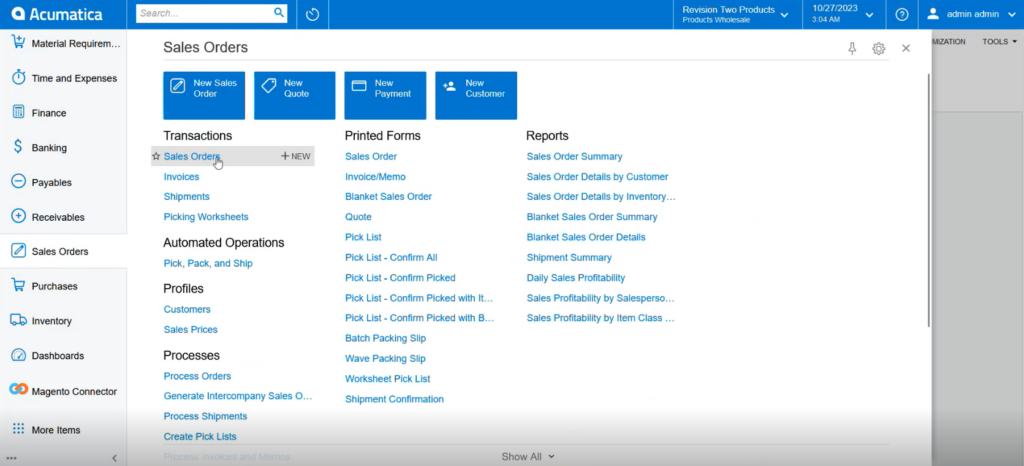
In the Sales Order Screen, you can view the RMA order.
On the Magento side, the order status will be displayed as pending because the RMA is not processed in Acumatica.

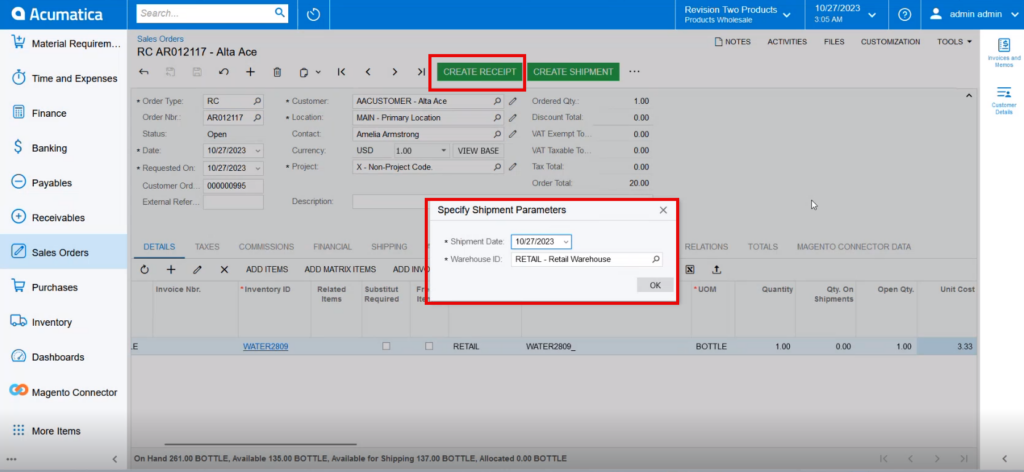
Step 11. You need to process the RMA Order. Click on [Remove Hold] and [Create Receipt] as you are returning the money to the customer. It will return the quantity.
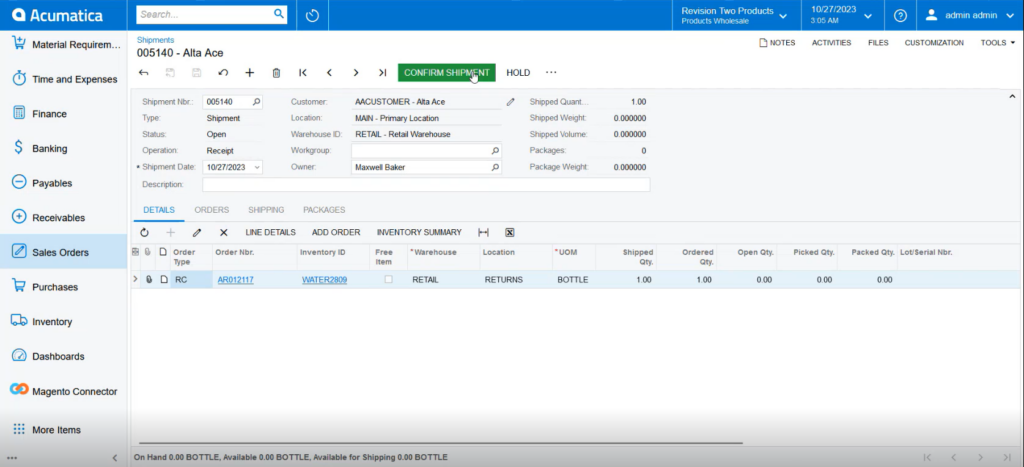
Step 12. You will be redirected to the Shipment screen. You need to click on [Confirm Shipment]
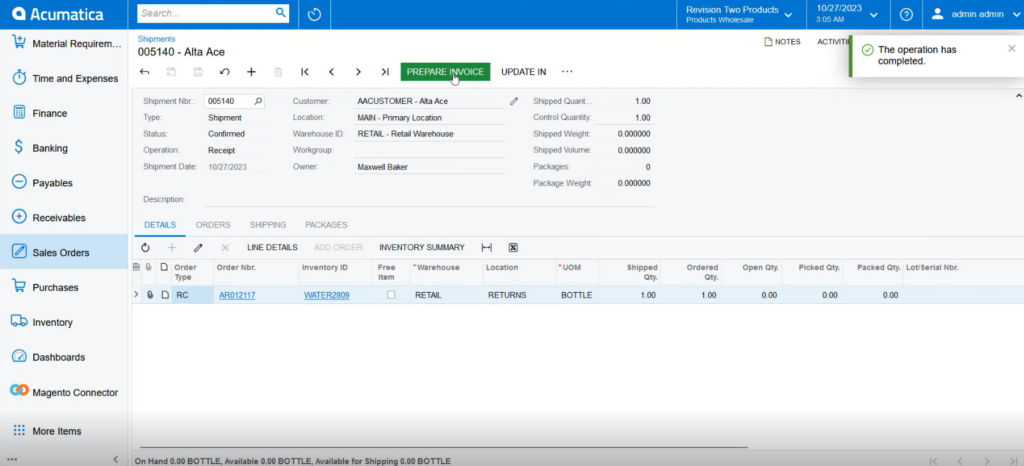
Step 13. You will be redirected to the [Prepare Invoice] screen. Click on the [Prepare Invoice].
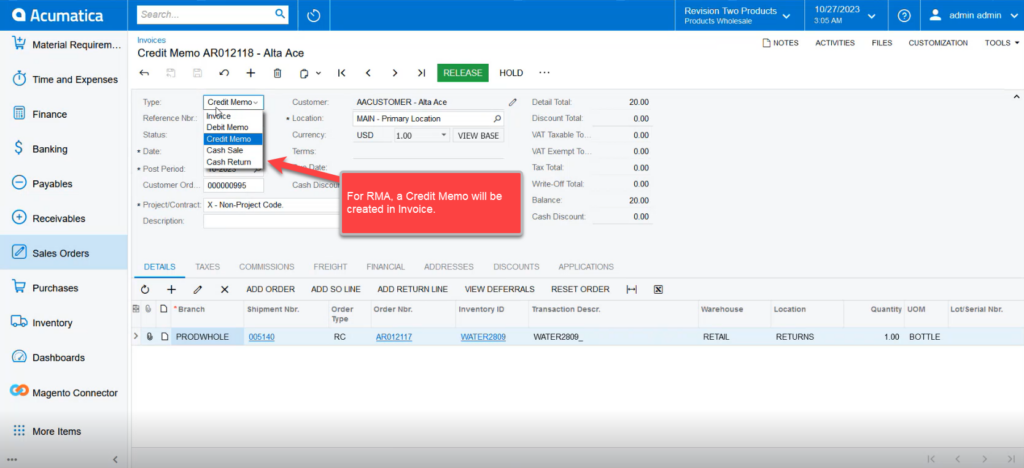
Step 14. Since you are creating an invoice for RMA, the application will create a [Credit Memo] as a default type selection and [Release] the Invoice.
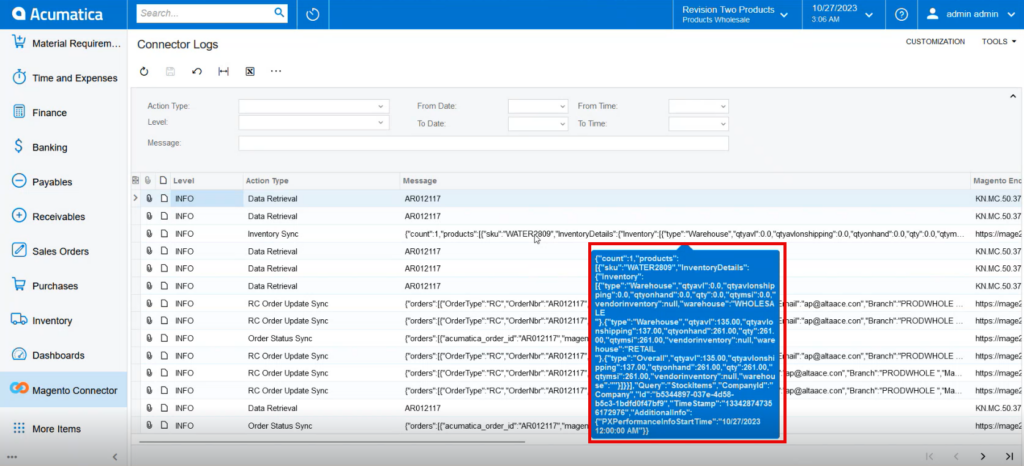
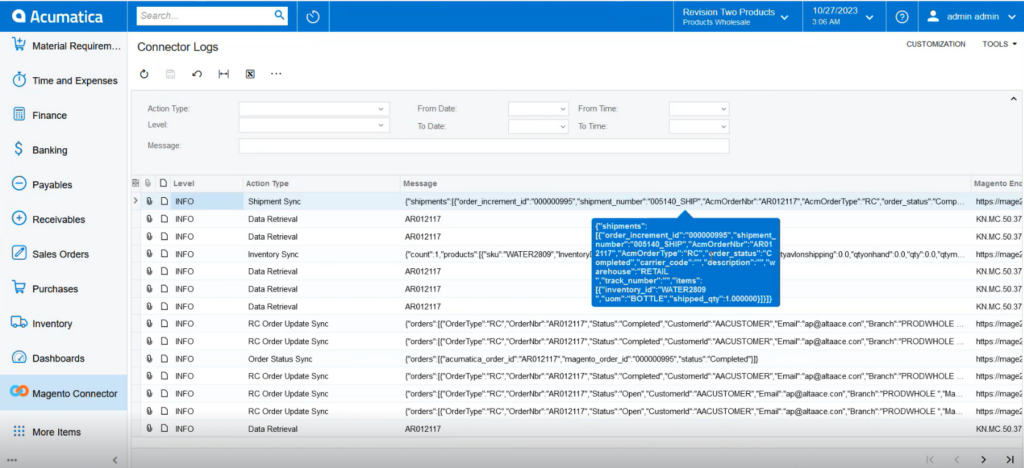
Step 15. Go to the Acumatica Connector Log screen.