
Product Type Mapping
Product must be mapped to ensure that Product data is properly synced between Acumatica and SellerCloud Connector.
When you want to sync a new product, the initial request is that you map the product-to-Product Type Mapping.
Scenario-1 Enabling Product
- To view the mapping of product type, you need to click on [Product Type Mappings] under configurations. Then you will be redirected to a new page.
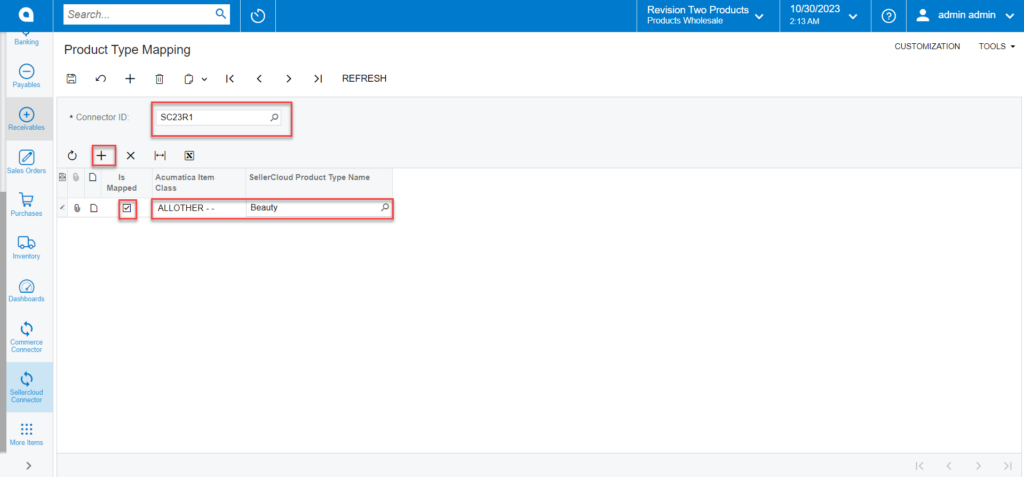
- You must search for the connector ID that is currently active.
- Click on the [+] Icon.
- You need to Toggle the [Is Mapped].
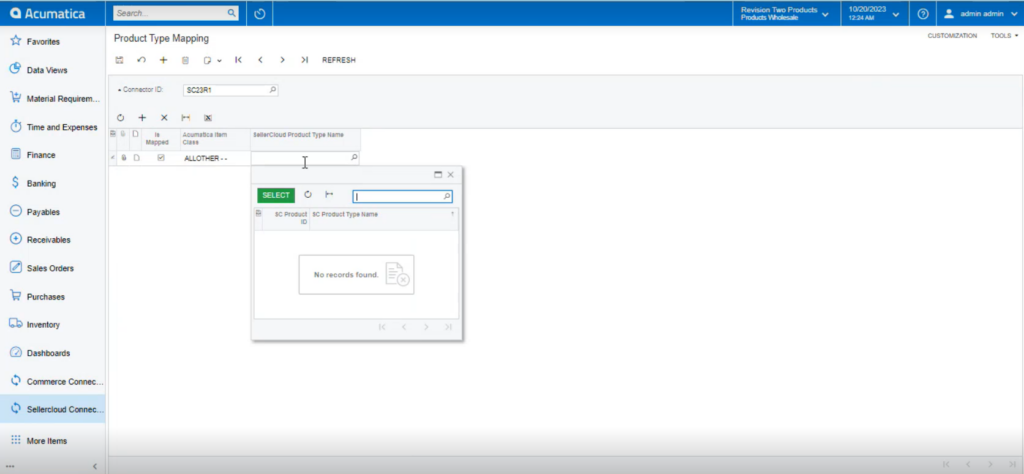
- Search for [Acumatica Item Class] and [SellerCloud Connector Product Type Name].
- If you are not able to view the [SellerCloud Connector Product Type Name].
- You must redirect to the SellerCloud Connector website.
- To do this, you must have credentials to log into SellerCloud Connector.
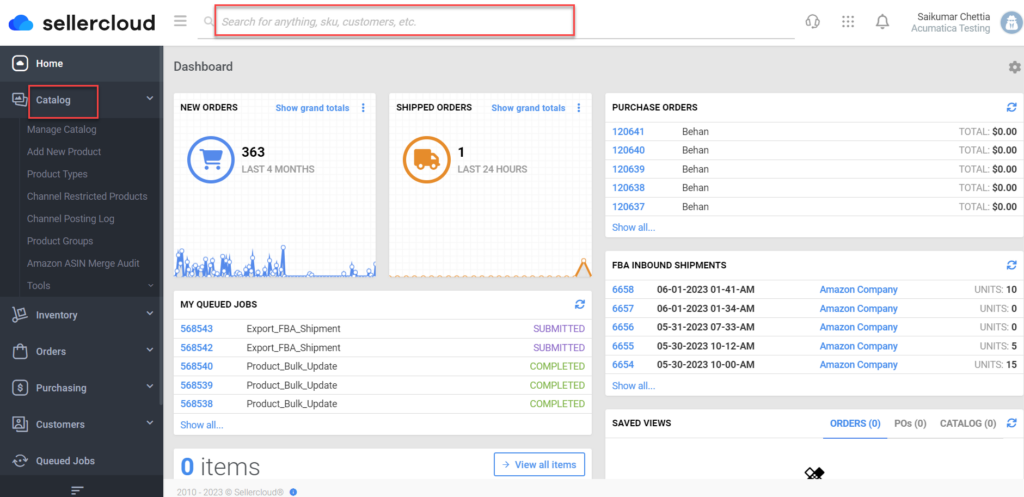
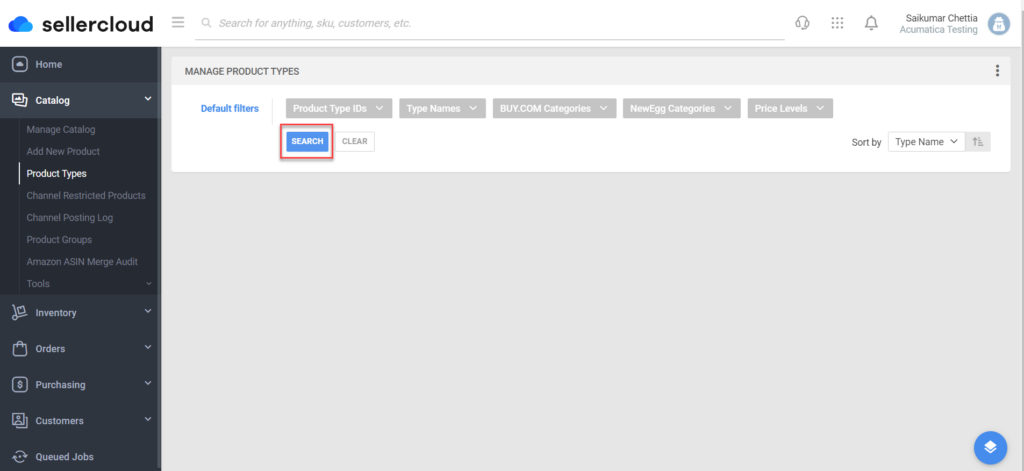
- You need to search for [Product Types].
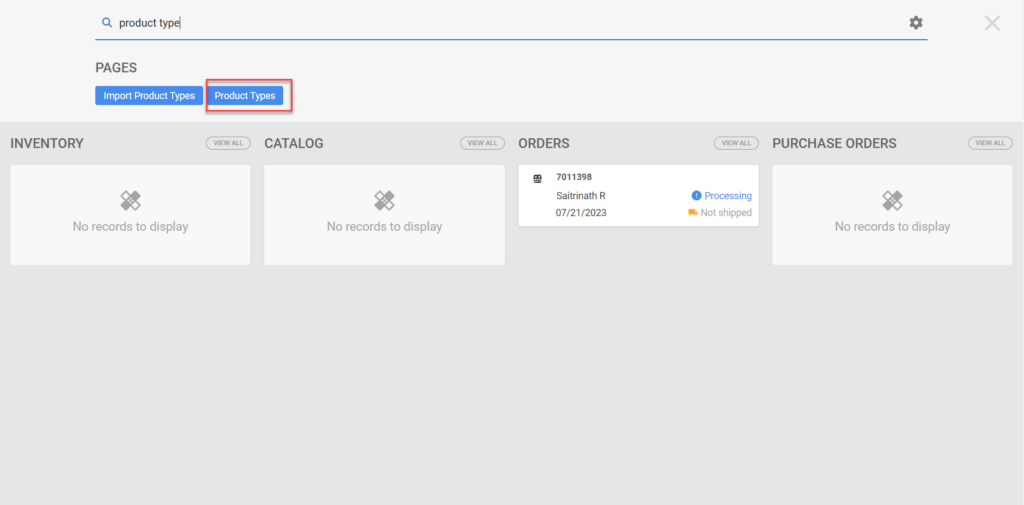
- Click on [Search].
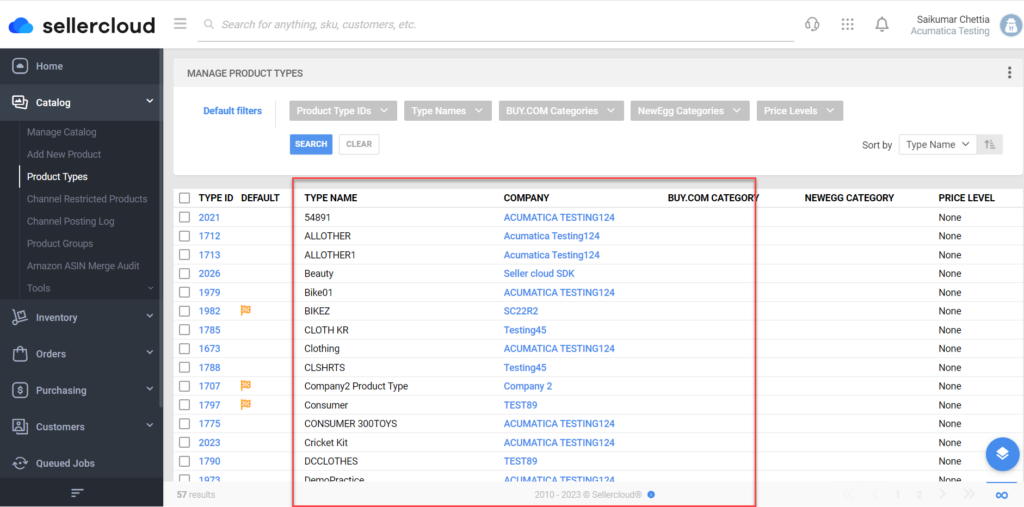
- The names of all the companies will appear here. You need to include only these companies in the [SellerCloud Connector Product Type Name].
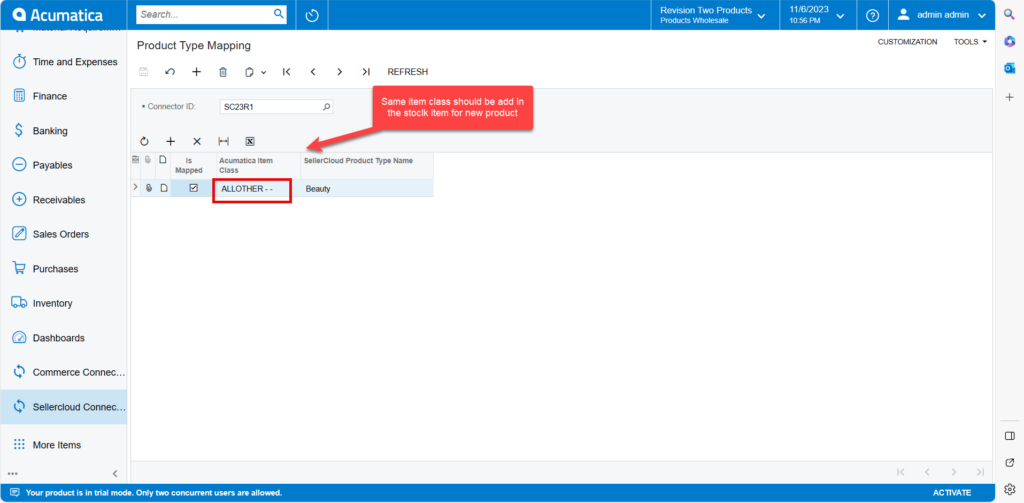
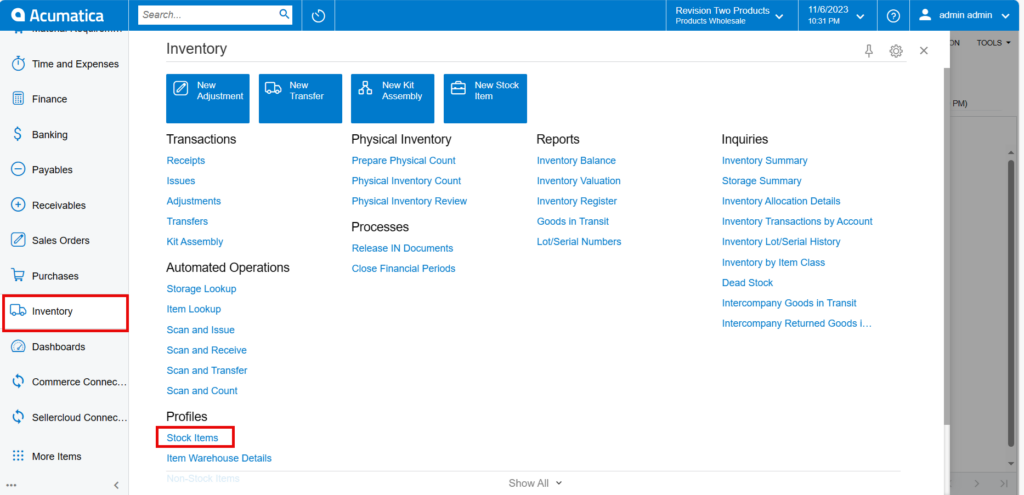
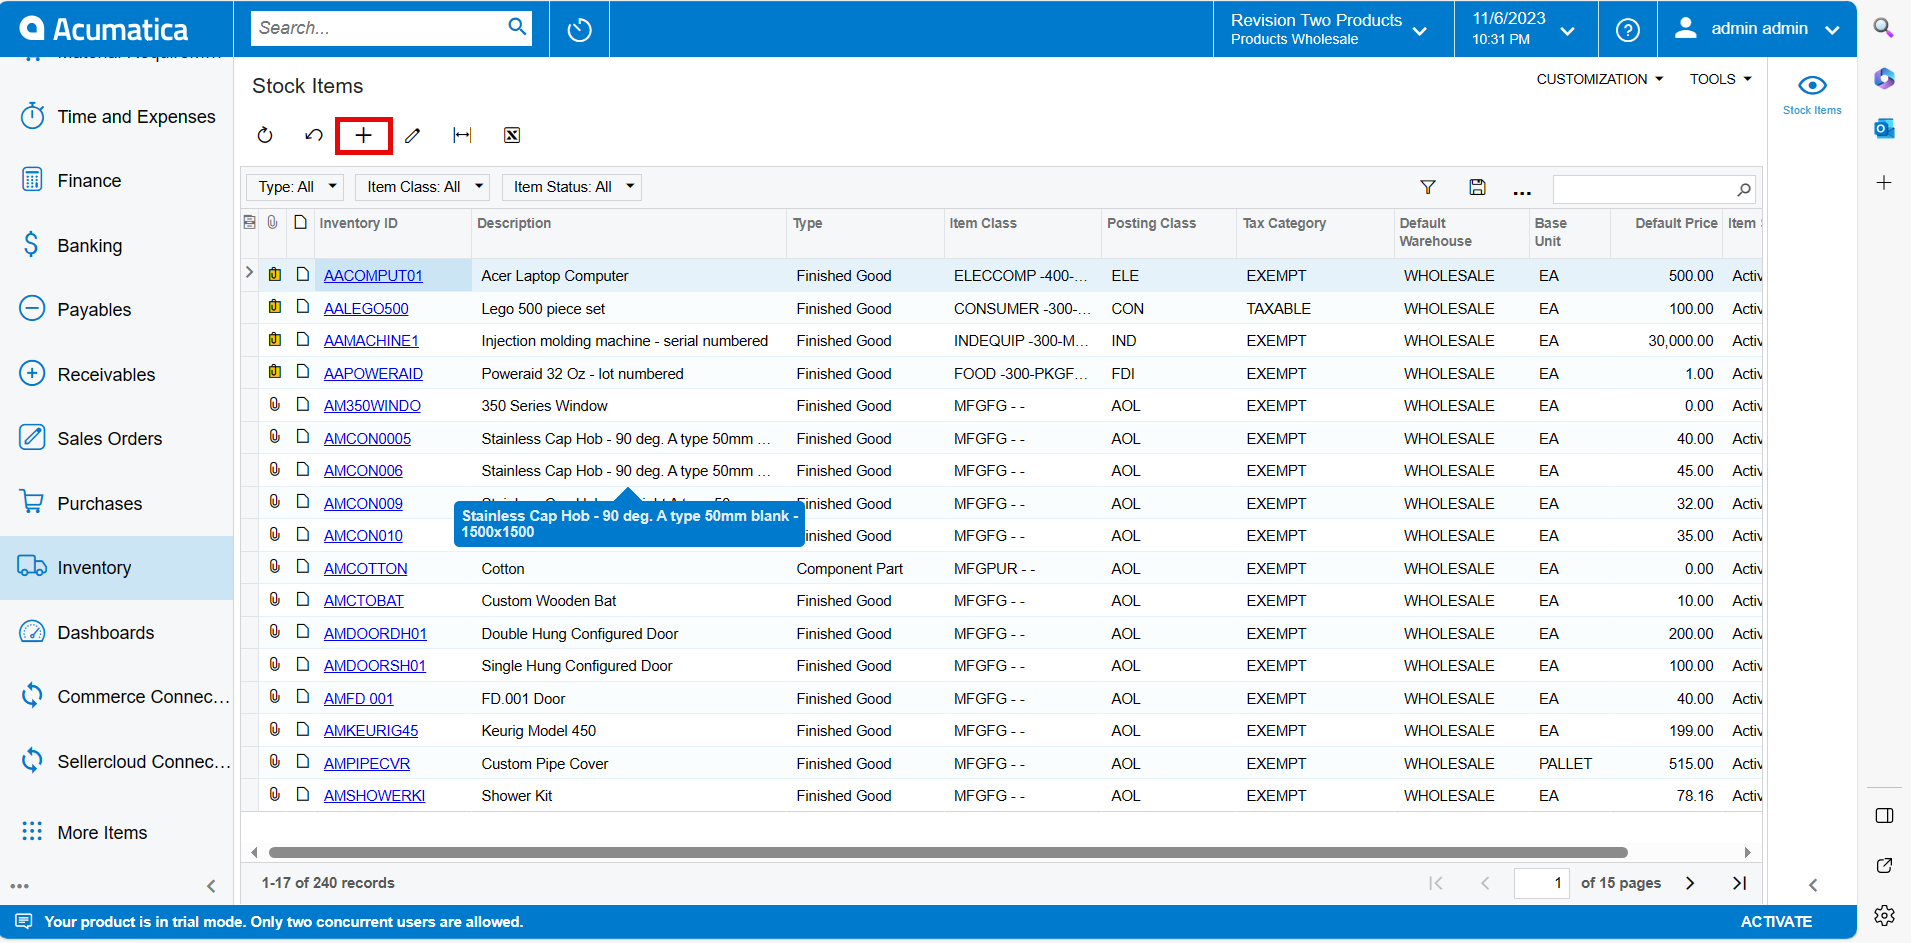
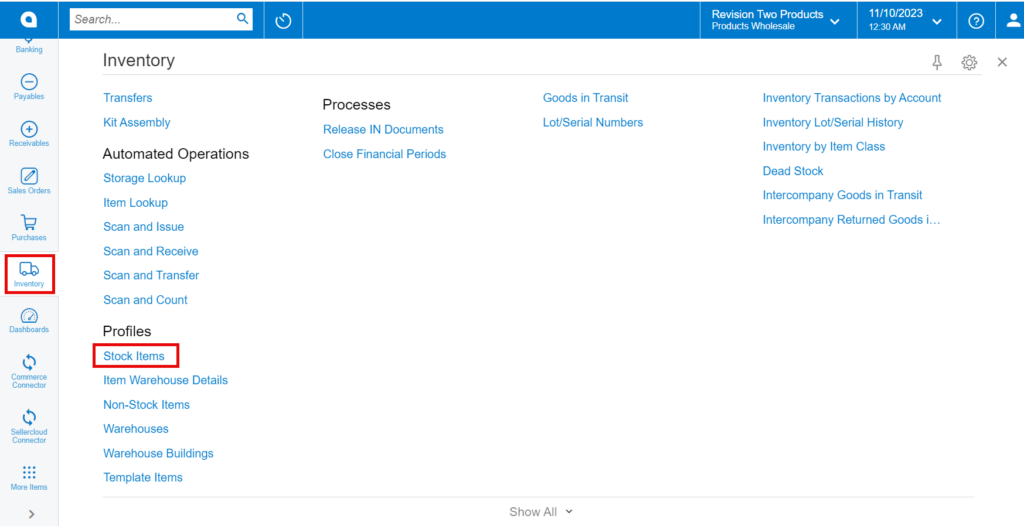
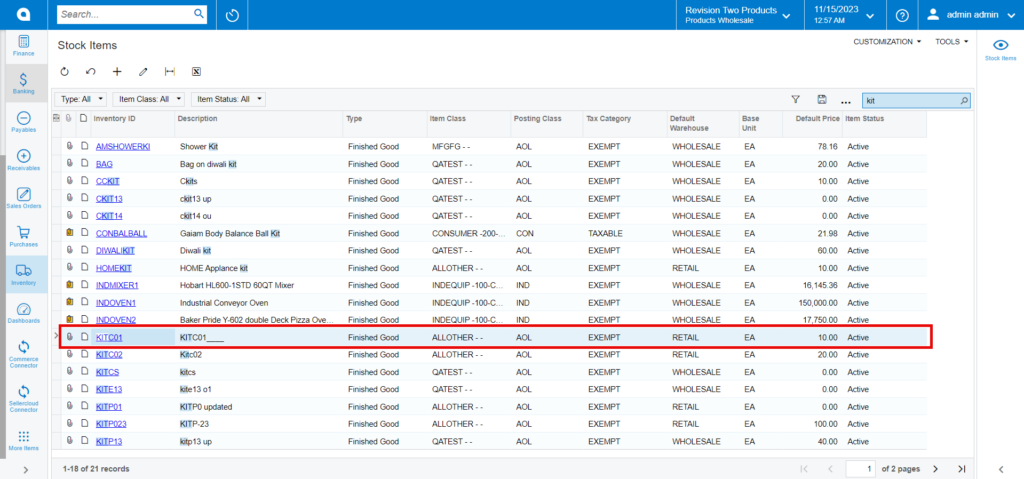
Upon mapping you need to create a stock item to map the item class, for this You need to navigate to the left side panel of Acumatica and click on [Inventory] and select [Stock Items] under [Profiles].
- You will be redirected to a new page with all the created Stock items.
- You need to click on [+] icon to access stock item screen.
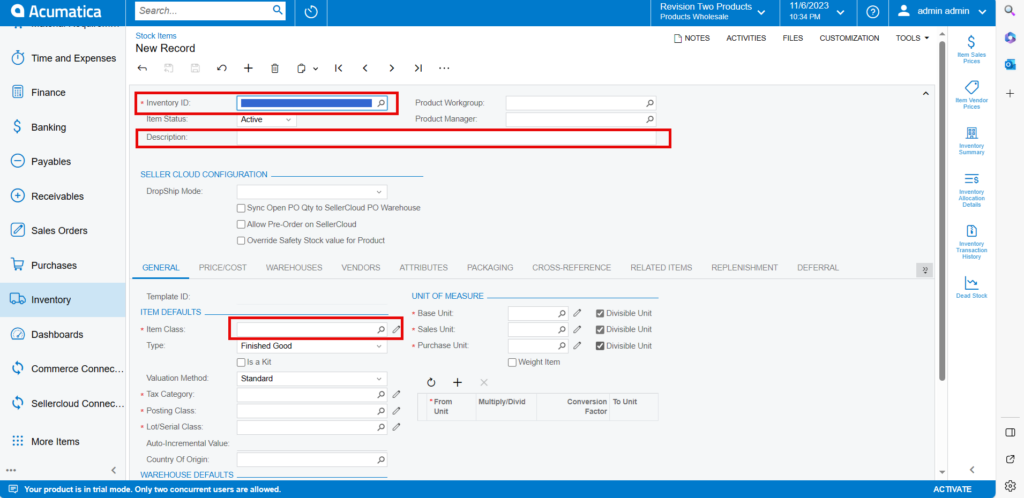
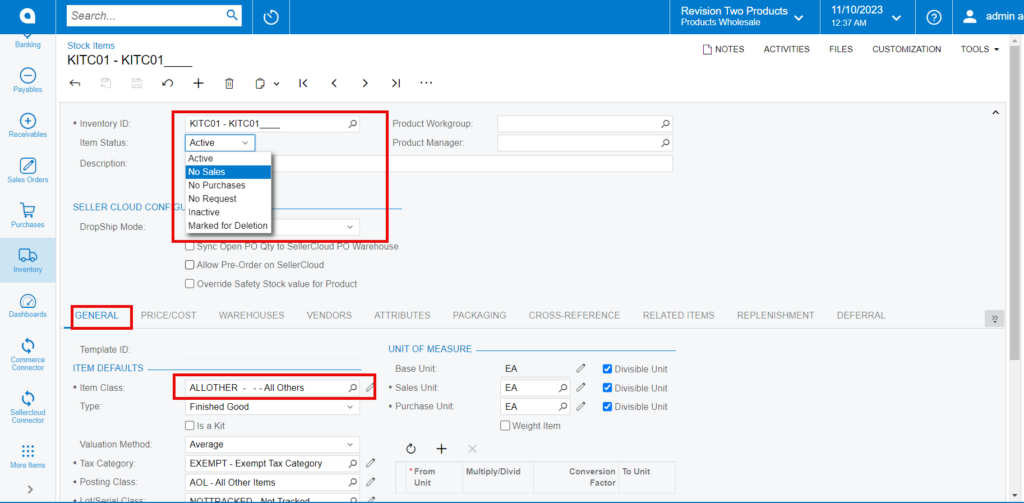
- You need to create a new [Inventory ID].
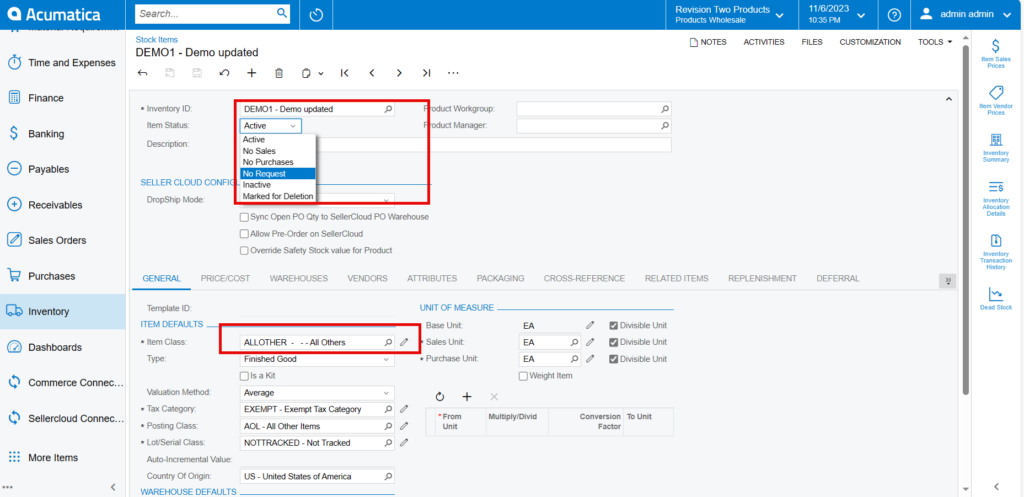
- Select the Item status from the drop-down.
- You can add the [Description].
- Select the [Item class] from the existing option it should be same as product type mapping.
- Select the [Country or Origin] from the existing options.
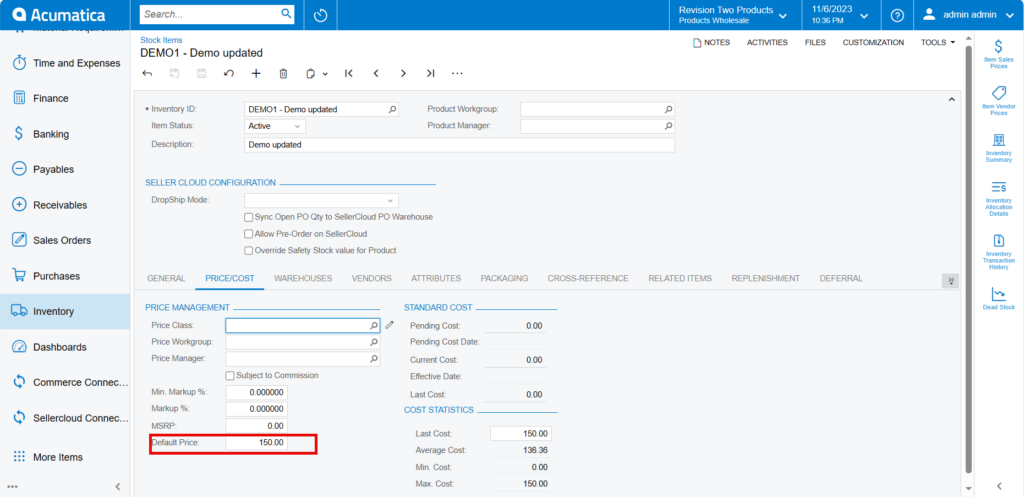
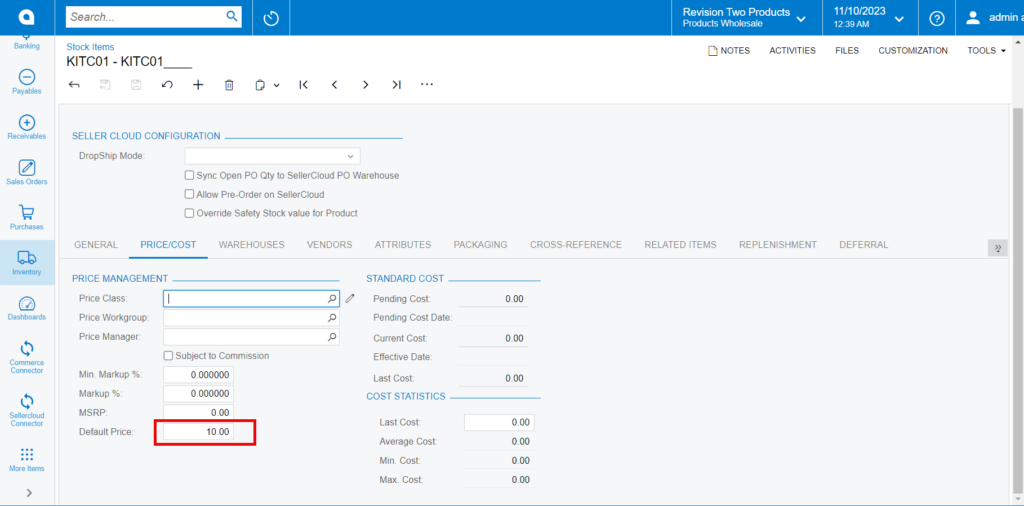
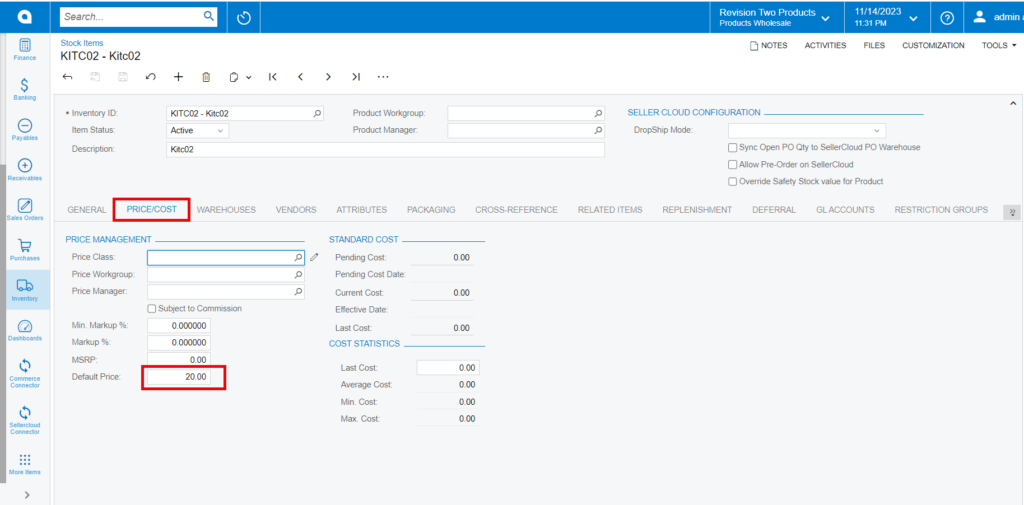
Price Cost
You need to add the [Default Price].
Scenario-2 Enabling kit Specification.
You need to navigate to the left side panel of Acumatica and click on [Inventory] and select [Stock Items] under [Profiles].
- You need to create child and parent items.
Child Item 1

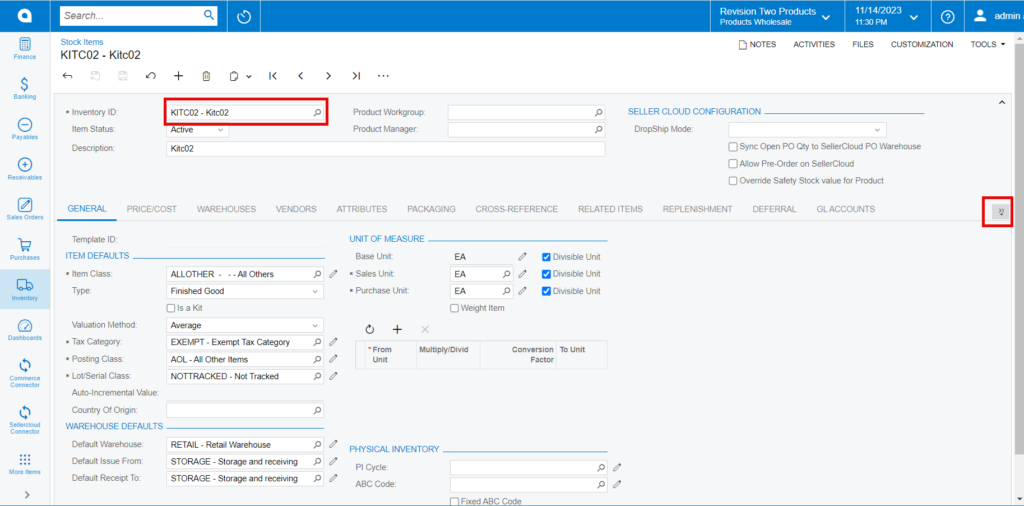
- You need to create a new [Inventory ID].
- Select the Item status from the drop-down.
You can add the [Description].
- Select the [Item class] from the existing option it should be same as product type mapping.
- Select the [Country or Origin] from the existing options.
- Click on [Kensium Commerce].
Price Cost
You need to add the [Default Price].
- Click on [Save].
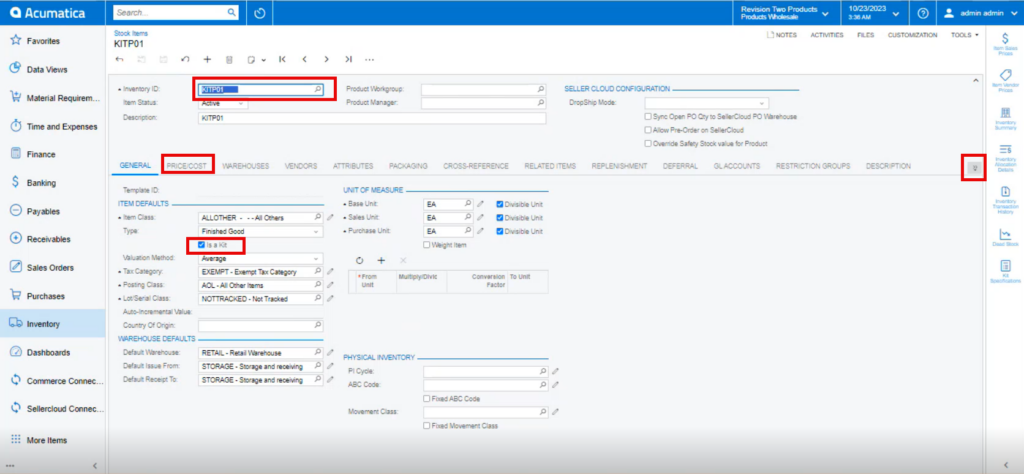
Child Item 2
Parent Item
You need to create a child item and enter the [Default Price] and enable the check box for [Is a Kit] and click on [Save].
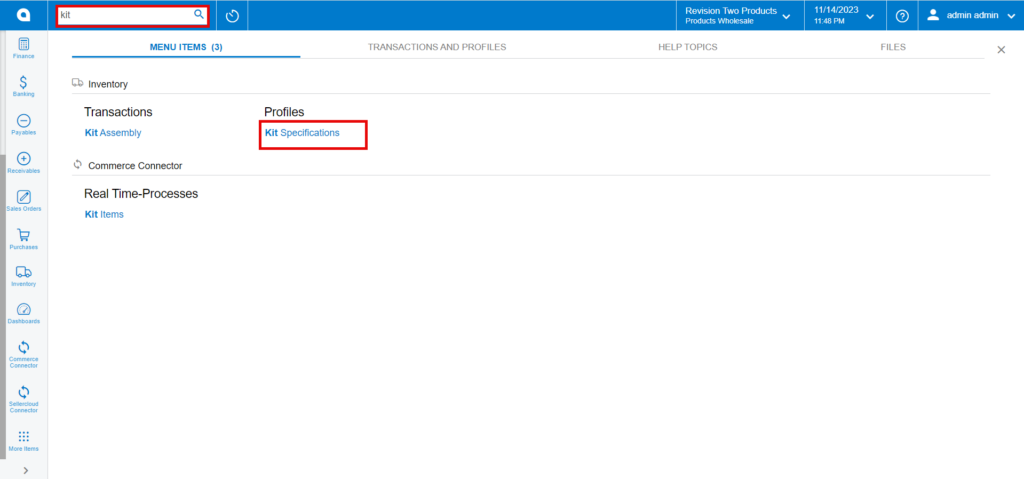
Upon creating the Parent and child items you need to search for [Kit Specification] in Global search bar to associate the Parent and Child Items.
- Click on [Kit Specifications] under [Profiles]
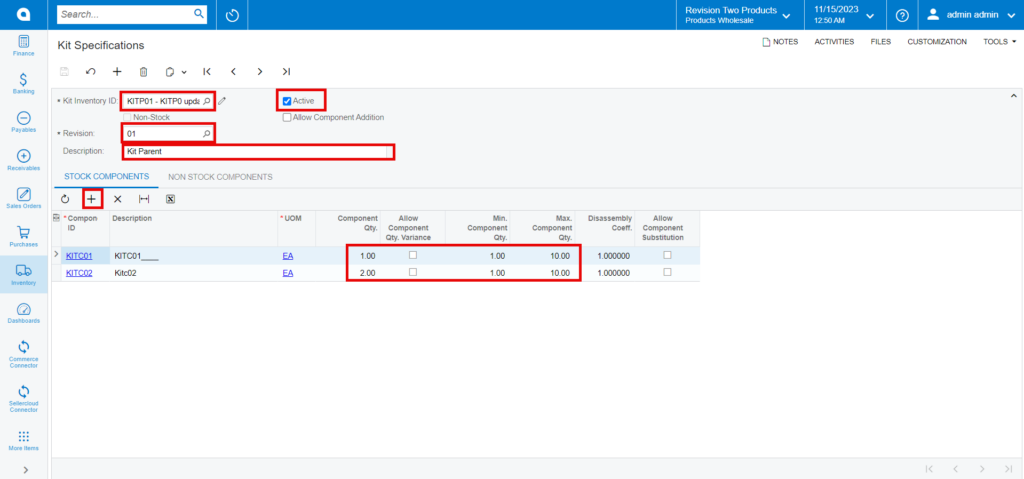
- You need to Search for the existing parent item in [Kit Inventory ID].
- Enter [Revision] number.
- You need to add the [Description].
- Click on [+] icon under Stock Components and search for child items in [Component ID] and add [Component QTY], [Min Component QTY],[Max Component QTY].
- Enable the [Active] checkbox, thus the kit specification is created.
- You need to navigate to [Stock Item] screen to enable the child’s items to SellerCloud Connector.
- Click on the [Inventory ID], You will be re-directed to stock items screen.


- Enter the price in [Default Price] and click on [Kensium Commerce].